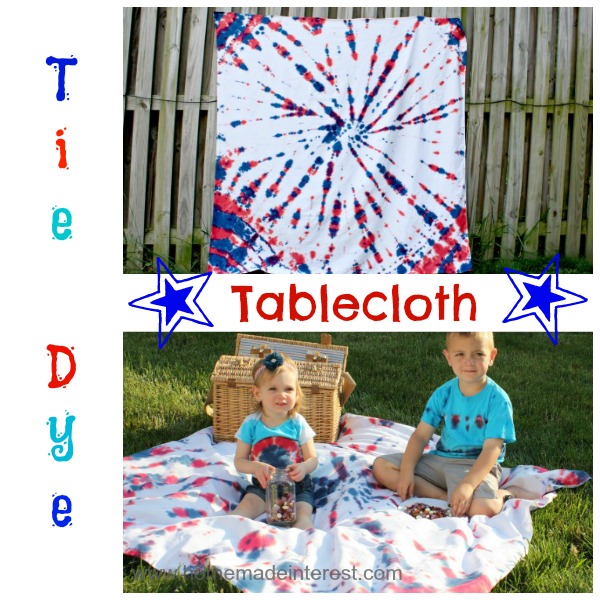
Red, White and Blue Tie-Dye Tablecloth
Make your own Tie Dye tablecloth to use a picnic blanket or a summer party tablecloth.
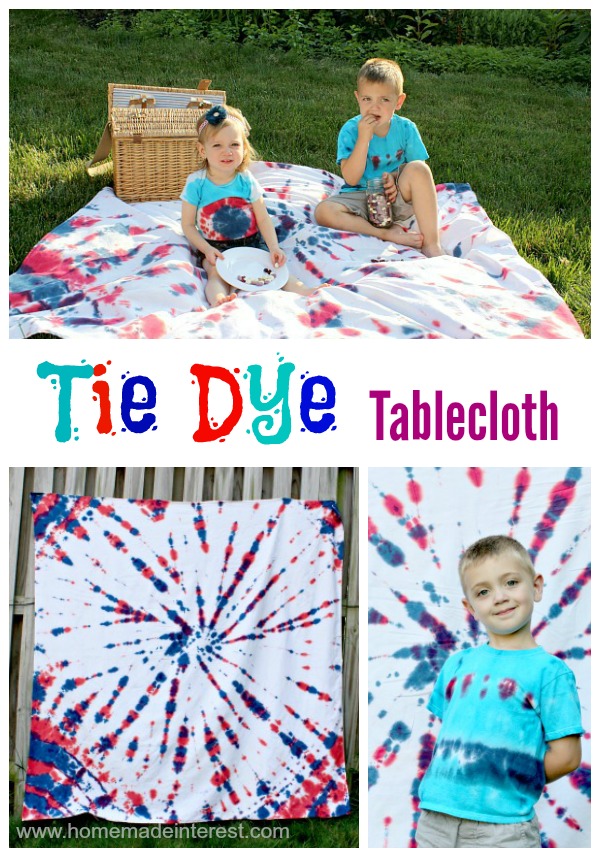
If you saw our post on Wednesday you might have noticed the red, white and blue tie-dyed picnic blanket the kids were picnicking on. Tie-dye is so big this year and Melinda has been chomping at the bit to do a tie-dye project. So, with picnic season here we thought a tablecloth would be perfect for our first try! A tablecloth is great because it can be used for so many things; a tablecloth (inside or outside), a picnic blanket, or a backdrop for photos. If you don’t have a white tablecloth go check out a local thrift store to find a cheap one, or buy a white sheet. My white tablecloths don’t last more than a year or two before they get a stain on them that just won’t come out, so this was a great way for me to give one new life.
Note: This post contains affiliate links which means we may be compensated if you click on a link and purchase something.
We bought a tie-dye kit that came with everything we needed; rubber bands, dyes, bottles, instructions for various tie-dye patterns, and gloves. I’d recommend buying yourself some nicer gloves since several of my fingers ended up blue and red.
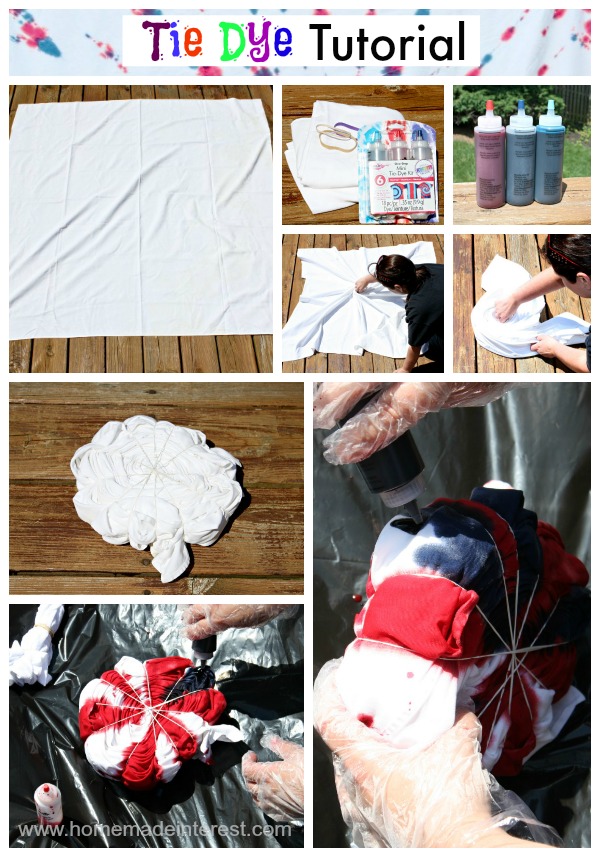
For the tablecloth we did the standard spiral pattern. We laid the fabric out flat and pinched the middle, then twisted it in a circle to create a flat spiral. We used the rubber bands to create our segments and filled each segment with color. We wanted to go with red, white and blue so we just alternated red and blue dye. Once we saturated one side we flipped it over and dyed the opposite side. When we felt like we had enough dye on the fabric we put the whole thing in a plastic bag where it would need to sit for 8 hours while the dye set.
Melinda was super-excited so we also threw in a white t-shirt and a onesie for the kids.
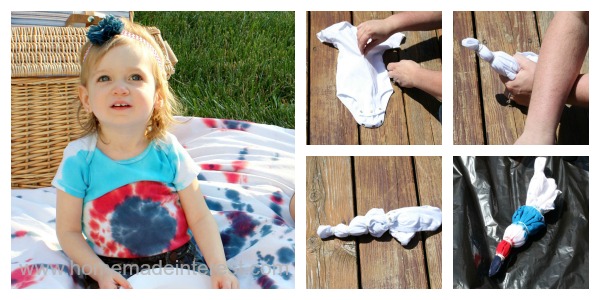
For the onesie we created a bullseye pattern. We laid the fabric out flat then made a circle with one hand, placing it in the center of the fabric. Then I pulled the fabric up through my hand. We used the rubber bands to create segments along the fabric. This time we added a teal dye in so we alternated between red, blue and teal. Again we sealed it up in a plastic bag to let the dye set for 8 hours.
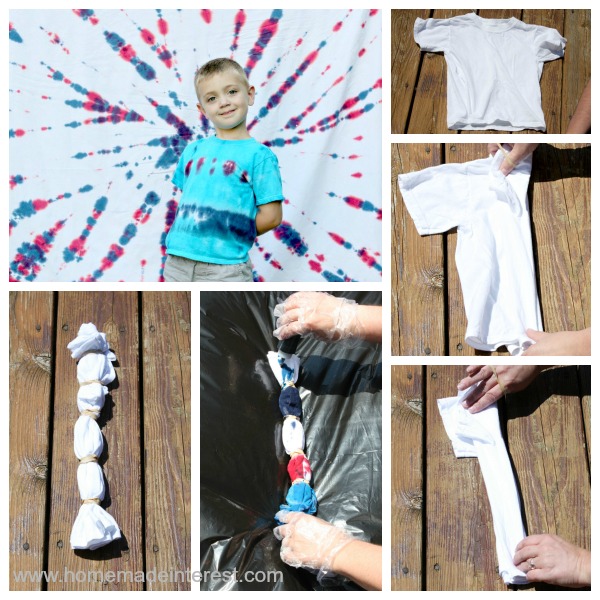
We created stripes on the t-shirt. We laid the fabic out flat and folded it into pleats, like a fan, then created segments down the fabric with the rubber bands. The tablecloth took a lot of dye so, at this point we were starting to run low on red and blue, which meant the t-shirt ended up with a lot more teal, but it worked.
After 8 hours, I think Melinda timed it to the second she was so excited to see how everything came out, Melinda rinsed each item under cold water until the water ran clear. She was worried about how difficult it would be to get the fabric thoroughly rinsed but it was simple and took less than 5 minutes for each piece. Once everything was rinsed it was all thrown in the wash together, washed in hot water, then dried.
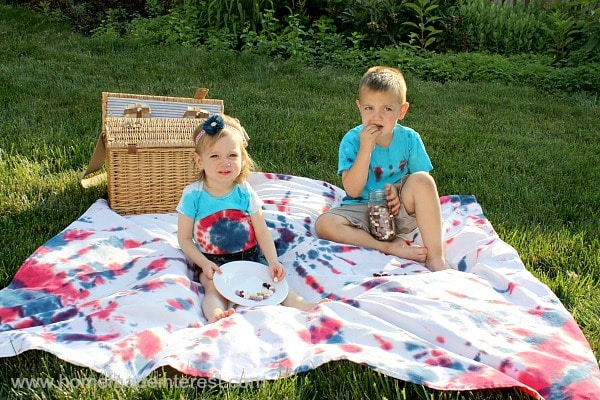
The next day I came over and we let the kids have a picnic outside on their new red, white and blue tie-dyed picnic blanket. We even took a little time to tack it up to the fence and get so cute pictures of Sawyer all ready for the 4th of July.
The project was really fun and Melinda already has a thousand ideas on what we should tie-dye next!
![]()


I love this idea. I’ll be making one for sure! Stopping over from Skip the Housework Link up to say hello.
Blessings,
Shari
Thanks Shari, let us know how it turns out!
Tablecloth, backdrop, picnic blankie…so many things. And I love tie dye 😉
Pinning it to my 4th board.
Thanks for sharing!
Thanks Bobbie we love how it turned out 🙂
oooh, I’ve really wanted to try tie-dying. You might just have inspired me to give it a go!
Cute idea! My kids get to do tie-dye at camp, and they love it.
beautiful! love how the pattern worked out and the shirts are awesome too 🙂
I love your tie-dye designs. I’ve always wanted to do this, thank you for the tutorial. Pinned!
This kicked off lots of ideas! It came out beautifully.
So cool — I’ve got to do this with my kids this summer!
What a really fun project that looks great too!
Would love you to share this at our Marvelous Monday link party on Smart Party Planning 🙂
Thanks Catherine we will check it out!
Thanks for sharing Kat 🙂
so much fun, and a great excuse to have picnics! thanks for sharing on craft schooling Sunday!
I absolutely love this fabulous tie dye blanket! It really came out cute and you can use it for many things.
Thanks for the wonderful idea! Have a nice week, Kim ‘ This Ole Mom”
Thanks Kim, the kids love it 🙂
Thanks Kim!
I love the way the blanket turned out! The mostly white background makes It look so bright and cheerful!
Thanks Heidi! We were a little worried that it wouldn’t have enough color but I think it worked perfectly!
I haven’t done tiedye is so long. It would make such a fun project for me to do with the kids. I’ll have to stop by the store and pick up a kit. Thanks for sharing this on Merry Monday.
Erlene it’s definitely a fun summer project. I searched the house for stained shirts, tablecloths, socks and just about anything to tie-dye. It’s a great way to reuse things that I have been holding on to.
Cute, easy, fun!! Thanks so much for sharing this on the Thursday Blog hop!
Thanks Pam!
So fun and festive! I love it!
I am a product of the 70’s and I have never done a tiedye. Gotta try this. Thanks for linking up to the Bloggers Brags Pinterest Party. I’ve pinned your post to the Bloggers Brags Pinterest Board
Thanks Tammy!
How cute is this. We used to tie-dye shirts when our kids were little.
Have a happy 4th…Here from Foodie Fri.
This is so cute! The kids are adorable! Pinned. Thanks again for being a part of our party. Lou Lou Girls
Thanks so much for linking up with Teach Me Tuesday @3GLOL last week. Your link up is very much appreciated! Hope to see you again this week. Starts tonight @8pm CST. http://3glol.net/2014/06/30/teach-tuesday/
YOU WERE FEATURED!! YAY!!
Have a great day!
I love a good tie dye project!! The table cloth looks adorable!! I can’t wait to make one soon. I would love it if you linked this up to my Motivate Me Monday linky party at IT’S A ginger SNAP.
We love tie dye! This is a perfect project for summer and for the 4th! Thanks for linking it up to Snickerdoodle Sunday! Hope to see you again next week! – Kristina
Thanks Kristina, we are now tie-dye fans too :). See you next week!
Thanks so much for linking up last week at Creative Spark Link Party! Hope you stop by again today! http://bit.ly/1vvIGjo
Thank you for sharing this post at City of Creative Dream’s City of Links on Friday! I appreciate you taking the time to party with me. Hope to see you again this week 🙂