

Pickled Cherry Tomatoes
Note: This post may contain affiliate links. That means if you click on a link and make a purchase we may receive a small commission. Thank you!
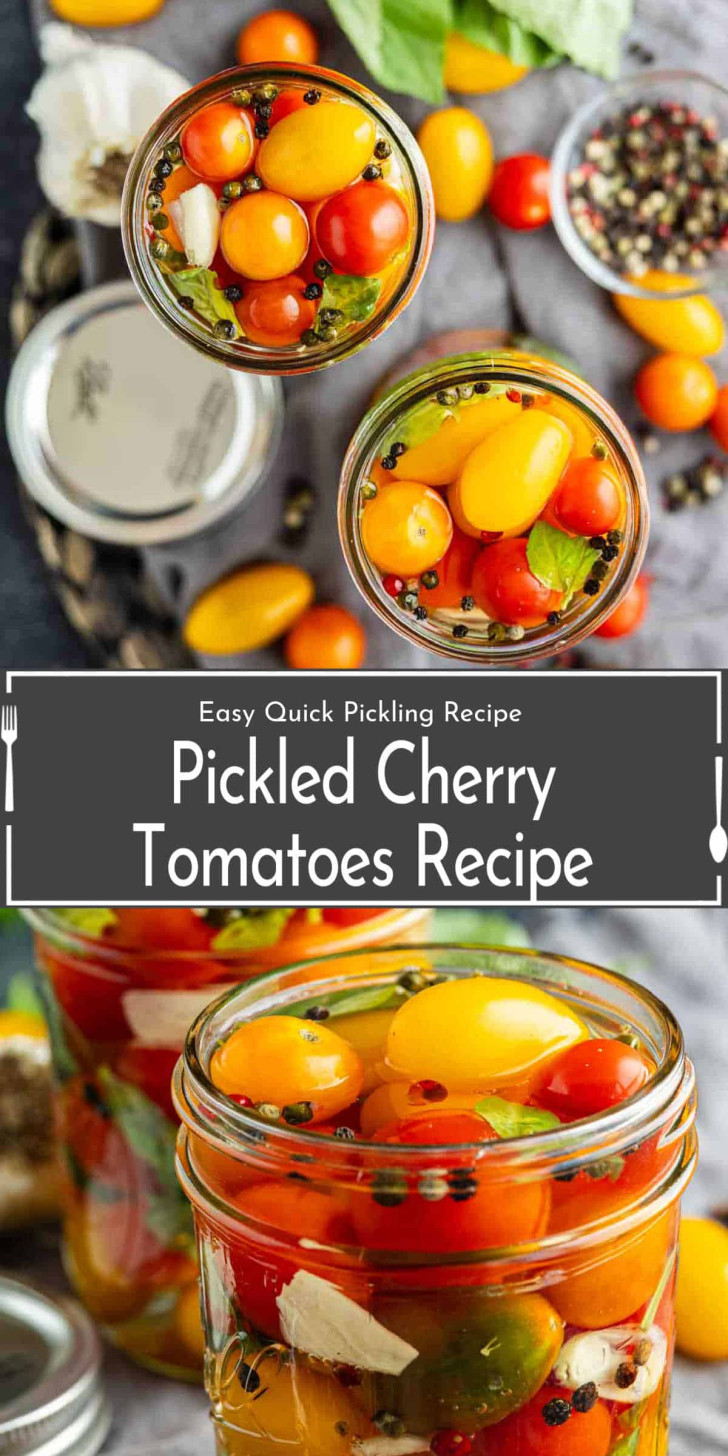
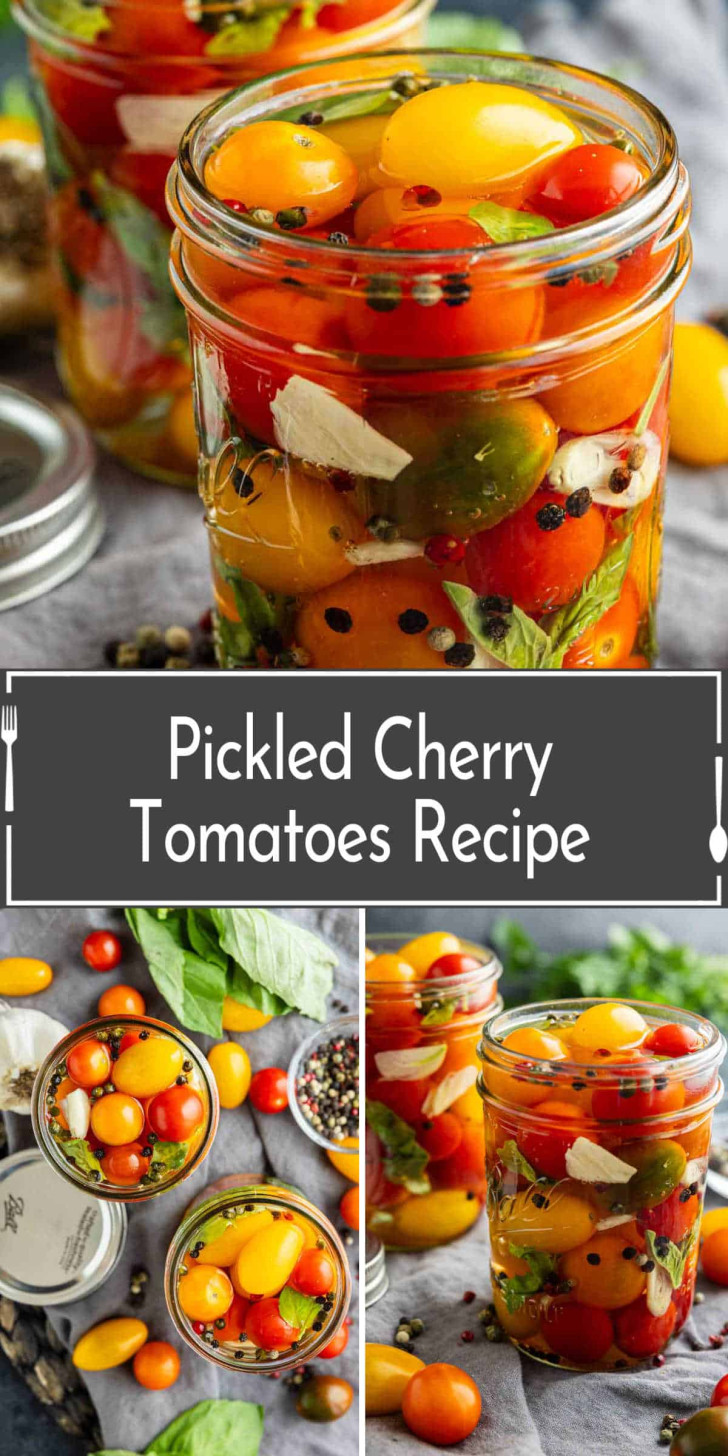
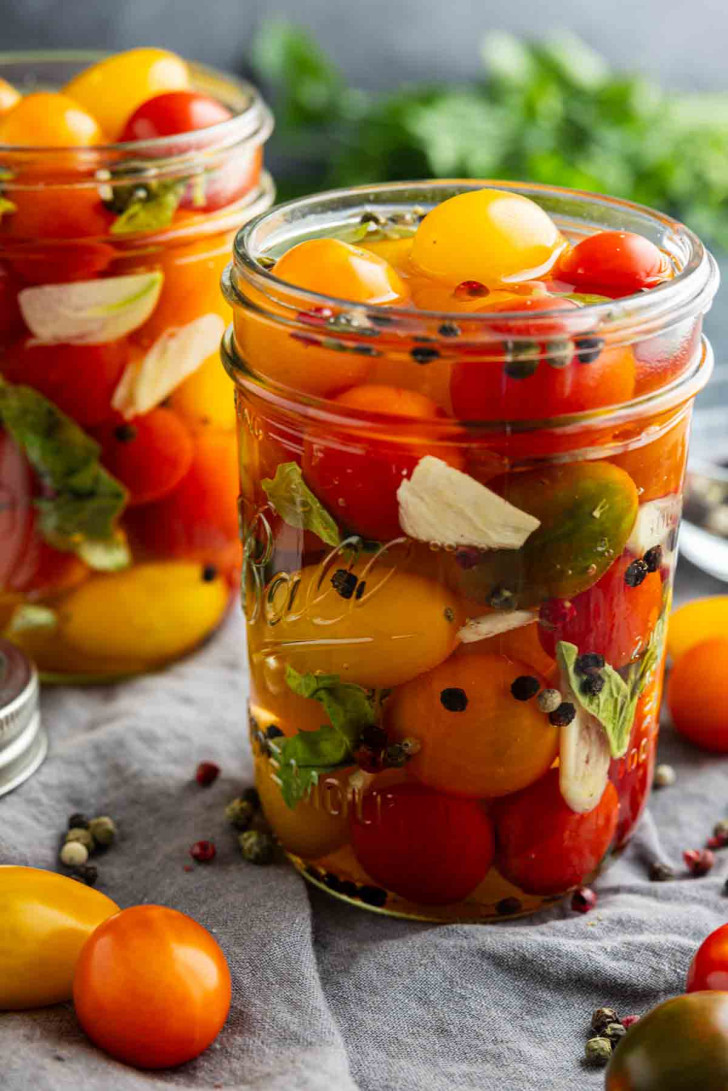
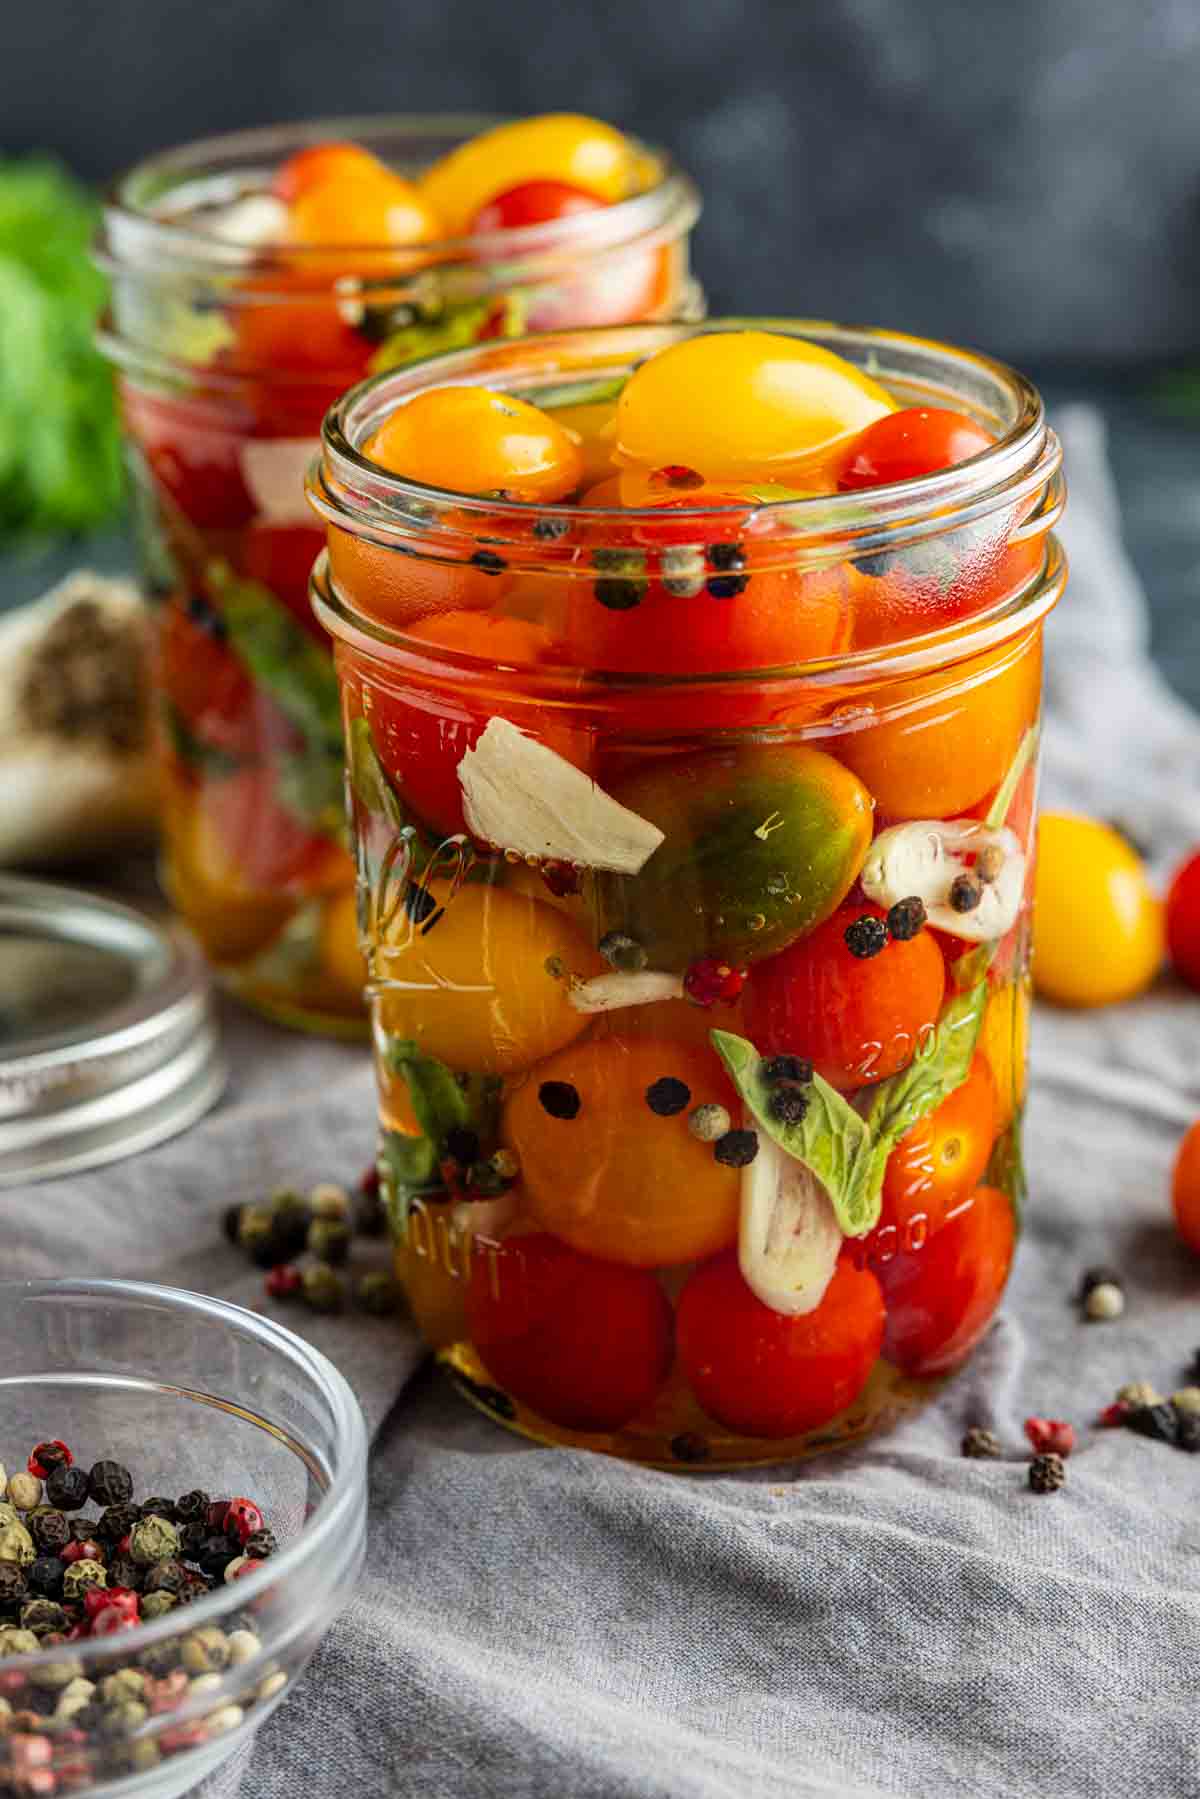
These Pickled Cherry Tomatoes are sweet, tangy, and bursting with fresh basil, garlic, and peppery flavor. This easy quick pickled cherry tomatoes recipe takes just a few minutes of prep before the refrigerator does the rest of the work.
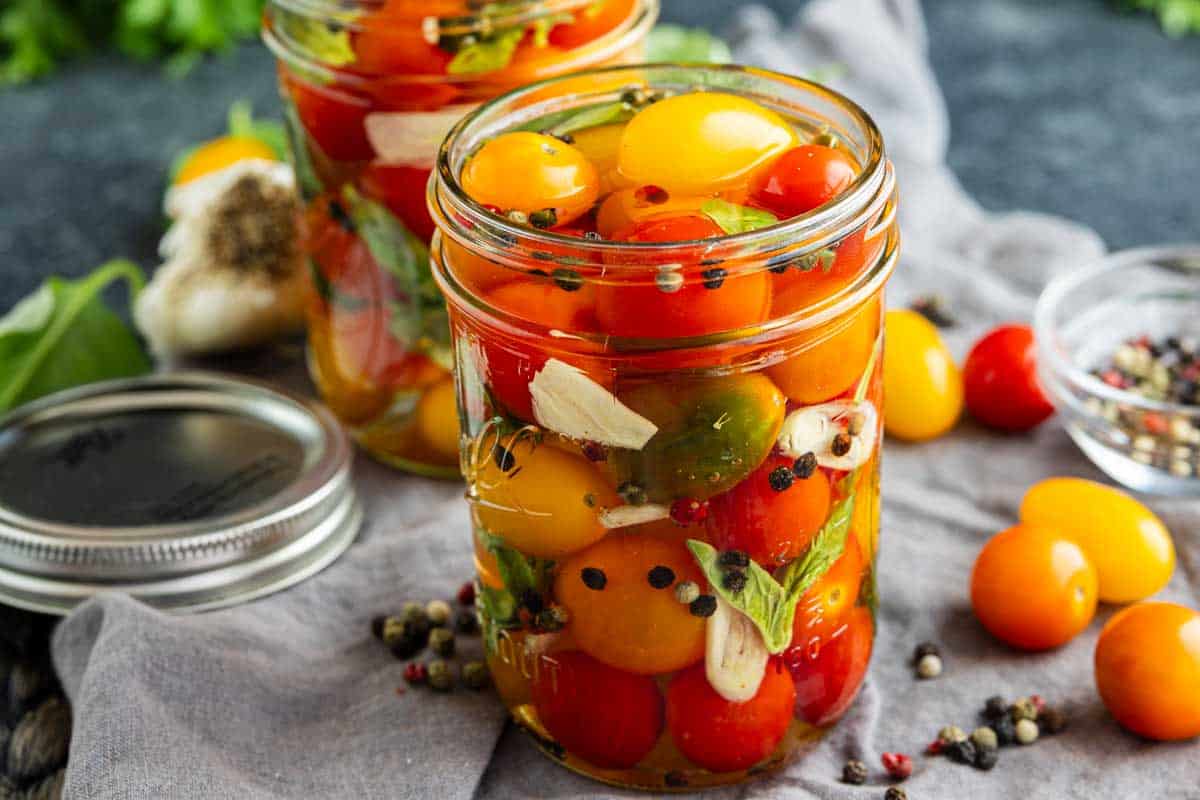
Easy Refrigerator Pickled Cherry Tomatoes
If you’ve ever had more cherry tomatoes than you know what to do with, this recipe is about to become one of your favorite ways to use them.
Fresh cherry tomatoes are already naturally sweet and juicy. Soaking them in a simple vinegar pickling brine takes everything we love about them and adds a tart, salty bite along with plenty of flavor from fresh garlic, black peppercorns, and basil.
Best of all, these are refrigerator pickled cherry tomatoes, which means there’s no complicated canning process. You simply prick the tomatoes, pack them into jars, pour the hot brine over them, and let them chill in the refrigerator.
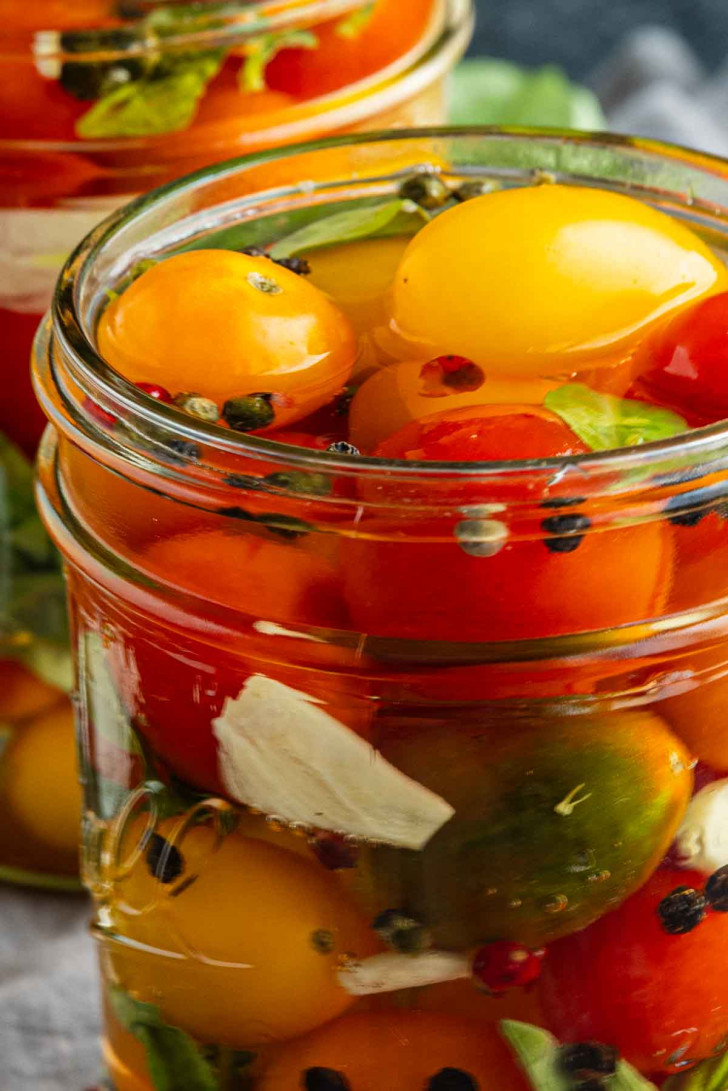
After about 24 hours, the tomatoes have soaked up that sweet and tangy brine while still keeping their juicy texture. Bite into one and you get a little burst of tomato followed by vinegar, garlic, basil, and black pepper.
They’re delicious straight from the jar, but that’s only the beginning. Add them to salads and sandwiches, pile them onto avocado toast, serve them with grilled meats, or tuck a jar onto a charcuterie board.
This is also a great recipe when your garden starts producing cherry tomatoes faster than you can eat them. Instead of letting those little tomatoes go to waste, turn a pint or two into cherry tomato pickles and keep them in the refrigerator for snacking throughout the week.
If you’re new to refrigerator pickling, start with our How to Make Quick Pickled Vegetables guide. It explains the basic process and shows just how many different vegetables can be transformed with a simple homemade brine.
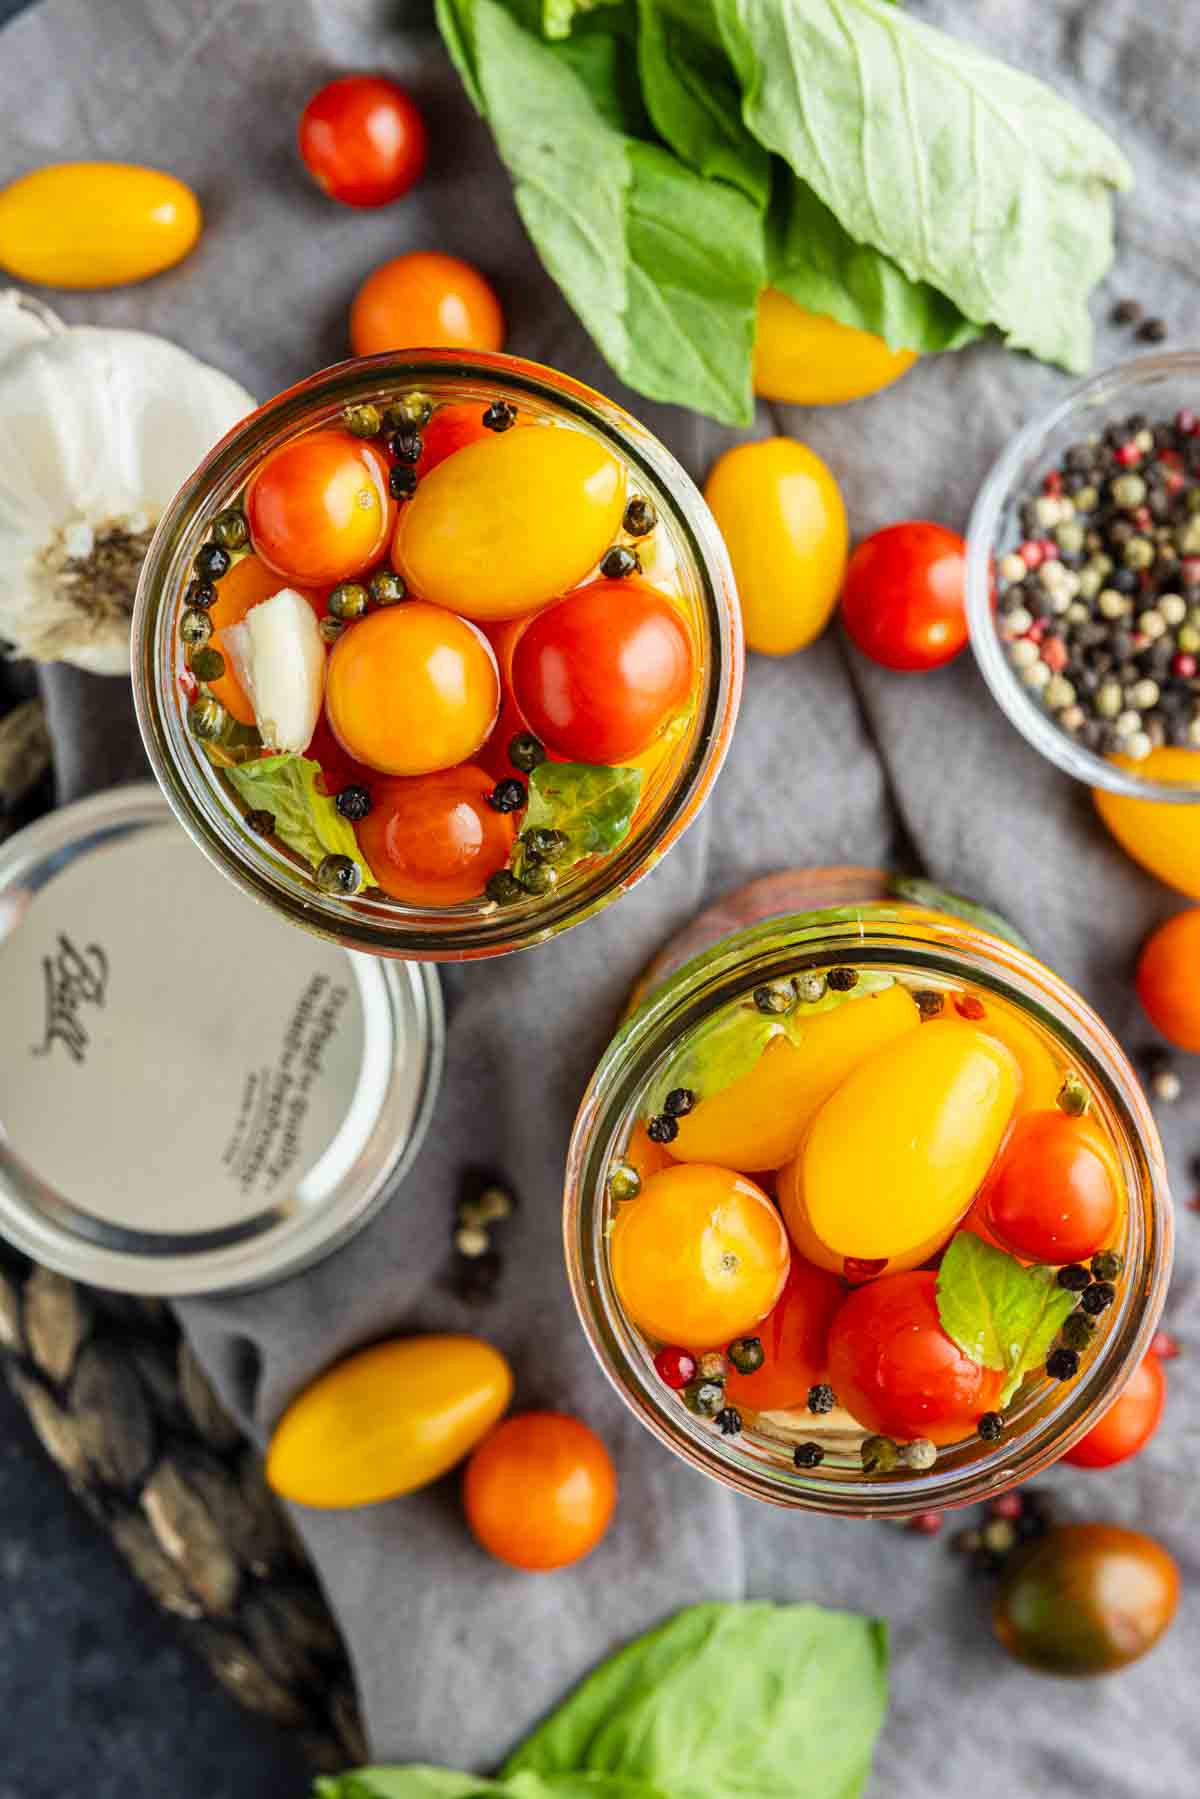
Why You’ll Love This Pickled Tomato Recipe
There’s a lot to love about this simple recipe, especially during tomato season.
First, it’s incredibly easy. There’s no peeling or chopping the tomatoes and no special canning equipment required. The only unusual step is poking each tomato a few times with a toothpick, and that takes only a few minutes.
It’s also a great make-ahead recipe. Prepare your jars one day, place them in the refrigerator, and the pickled tomatoes are ready for you the next day.
The flavor is easy to customize too. We love the combination of basil, garlic, and peppercorns because basil and tomato are such a natural pair. However, once you know the basic method, you can experiment with dill, rosemary, red pepper flakes, mustard seeds, or other herbs and spices.
And unlike cucumber pickles, these tomatoes stay wonderfully juicy. They aren’t meant to have the crisp snap of a traditional dill pickle. Instead, you get a tender tomato filled with tart, garlicky pickling flavor.
They’re a great little refrigerator staple to have around when you need a little something extra.
Ingredients You’ll Need
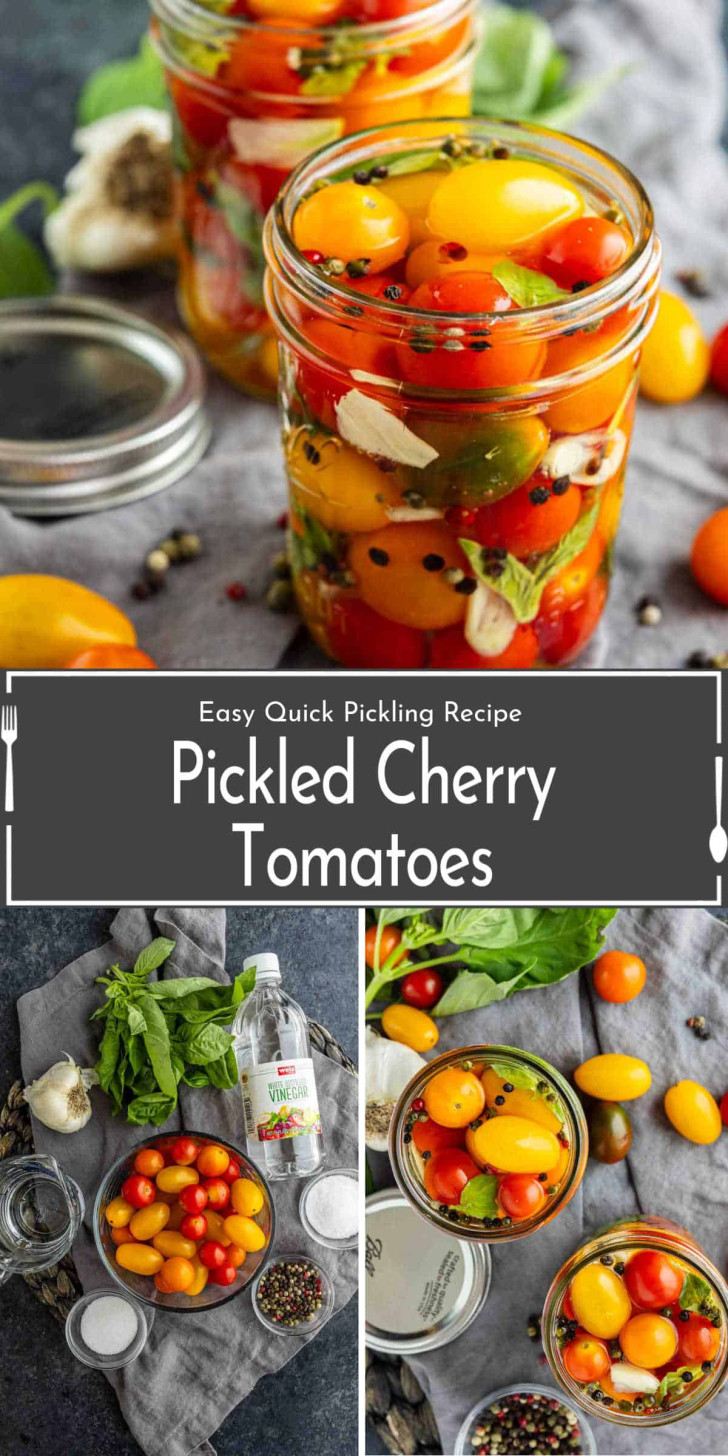
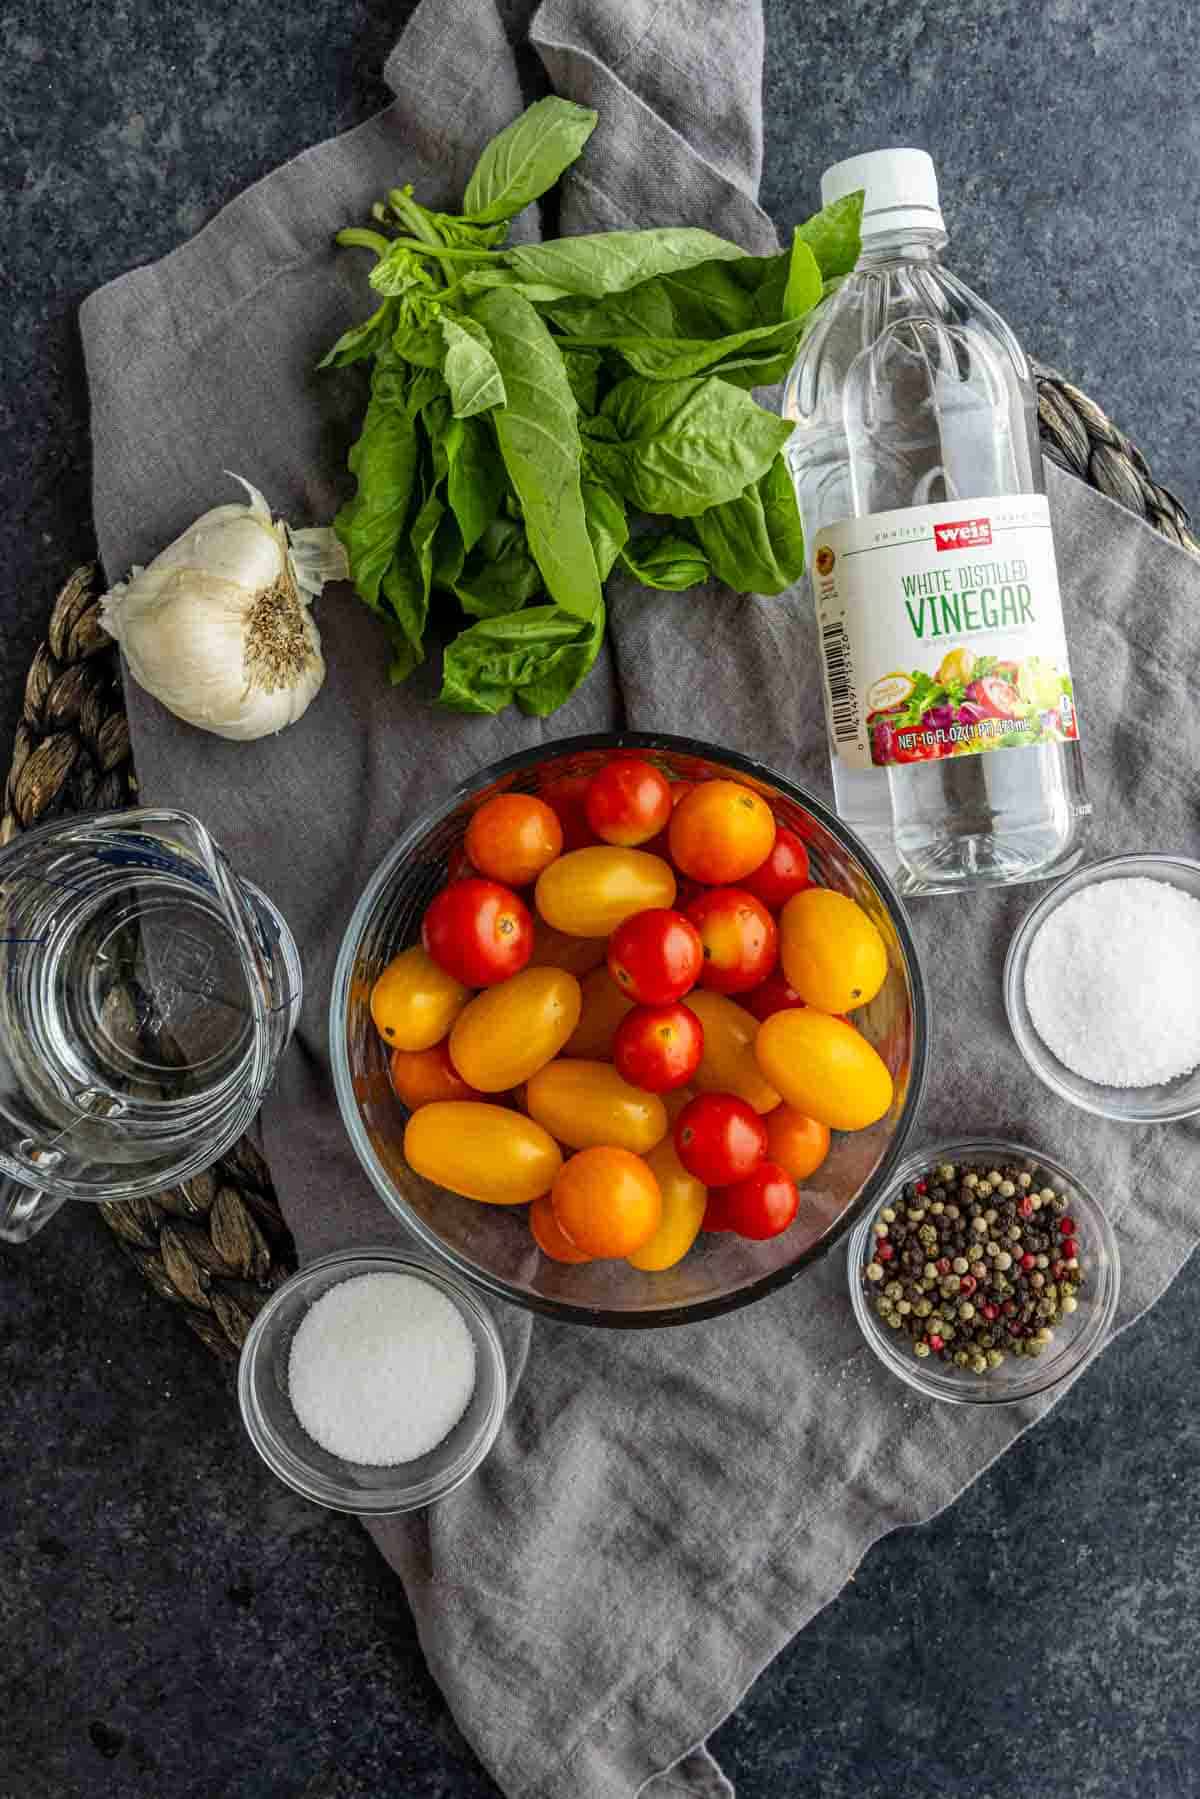
You only need a handful of ingredients to make homemade pickled cherry tomatoes, and most are inexpensive pantry staples.
Sugar – A small amount of sugar balances the acidity of the vinegar and enhances the natural sweetness of the cherry tomatoes. These aren’t sweet pickles; the sugar simply rounds out the flavors.
Cherry tomatoes – Choose ripe but firm cherry tomatoes without cracks, bruises, or soft spots. Red cherry tomatoes are perfect, but yellow, orange, or mixed-color tomatoes make a beautiful jar too. Grape tomatoes can also work, although their firmer texture is slightly different.
Garlic – Fresh chopped garlic adds a savory bite that balances the sweet tomatoes. If you prefer a milder garlic flavor, you can slice the cloves rather than finely chopping them.
Black peppercorns – Whole peppercorns slowly flavor the brine and give the tomatoes a warm peppery finish without making them spicy.
Fresh basil – Basil gives these pickles a fresh summer flavor and pairs naturally with tomatoes and garlic. Make sure the basil is clean and fresh before adding it to the jars.
Water – Water dilutes the vinegar so the finished brine has a balanced tang rather than an overwhelmingly sharp vinegar flavor.
White vinegar – Distilled white vinegar gives this recipe its bright, clean acidity. For refrigerator pickling, choose commercial vinegar labeled as 5% acidity.
Salt – Salt seasons the tomatoes and gives the brine its classic pickle flavor. We prefer kosher or pickling salt rather than iodized table salt.
What Kind of Cherry Tomatoes Are Best for Pickling?
The best cherry tomatoes for pickling are fresh, firm, and ripe.
You want tomatoes that have plenty of flavor but aren’t so soft that they collapse when the warm brine is poured over them. Tomatoes with split skins should also be set aside for another recipe.
Standard red cherry tomatoes work beautifully, but you don’t have to stop there. Sungold tomatoes, yellow cherry tomatoes, orange cherry tomatoes, and colorful heirloom varieties can all make gorgeous jars of refrigerator pickles.
A mixture is especially pretty if you plan to put the tomatoes on a grazing board or serve them for a summer party.
Grape tomatoes can be substituted if that’s what you have. Their skins tend to be a little thicker and their flesh a little firmer, so the finished texture may be different, but the same pickling method works.
Whatever variety you choose, try to use tomatoes that are roughly the same size. That helps them pickle at about the same rate.
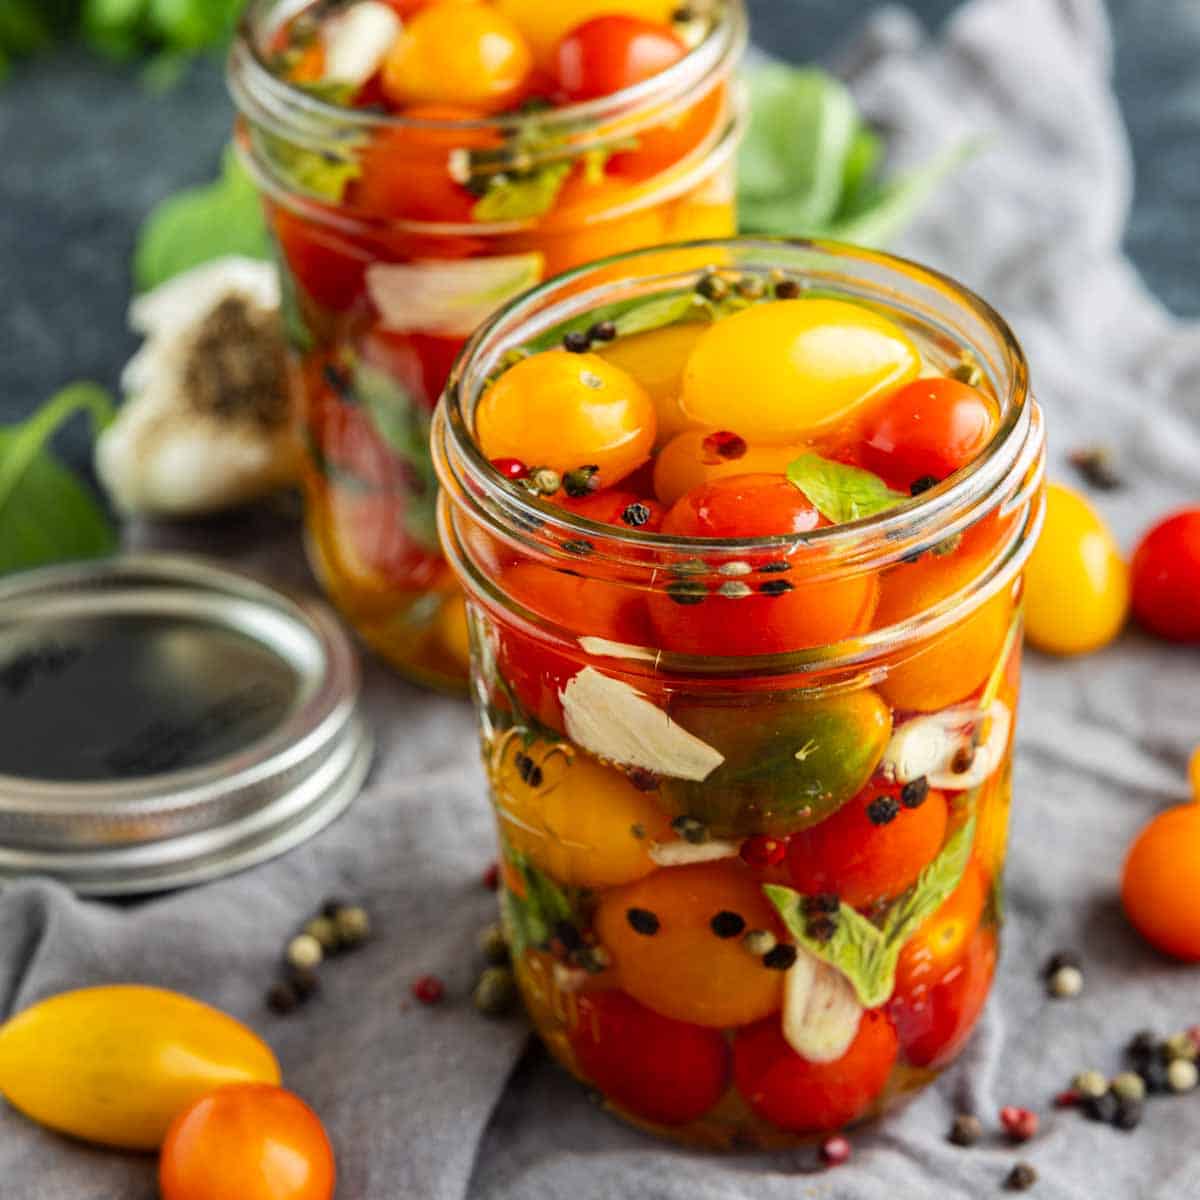
How to Make Pickled Cherry Tomatoes
You’ll be surprised at how easy it is to learn how to pickle cherry tomatoes. Have your clean jars ready before you start the brine so you can assemble everything quickly.
Step 1 – Prepare the tomatoes. Wash the cherry tomatoes thoroughly and remove any stems. Gently prick each tomato two or three times with a clean toothpick. The tiny holes allow the brine to move through the skin and flavor the inside of the tomato.
Step 2 – Fill the jars. Divide the tomatoes evenly between clean glass jars. Add the chopped garlic, whole black peppercorns, and fresh basil, distributing everything evenly so each jar gets plenty of flavor.
Step 3 – Make the pickling brine. Add the water, white vinegar, salt, and sugar to a small saucepan. Place it over medium-high heat and stir until the salt and sugar have completely dissolved. The liquid needs to be hot, but there’s no reason to keep cooking it once everything has dissolved.
Step 4 – Add the brine. Remove the saucepan from the heat. Slowly pour the hot brine over the tomatoes until they are completely covered. Work carefully so you don’t splash the hot liquid. Place the lids on the jars and seal them tightly.
Step 5 – Cool and refrigerate. Let the jars cool completely, then transfer them to the refrigerator. Chill the pickled cherry tomatoes for at least 24 hours before serving so they have time to absorb the flavor of the vinegar, garlic, basil, and peppercorns.
The tomatoes will become more flavorful as they sit in the brine, so don’t worry if you taste one early and it isn’t quite tangy enough yet.
Why Do You Poke Holes in Cherry Tomatoes Before Pickling?
Don’t skip this step!
Cherry tomatoes have a relatively sturdy skin surrounding a very juicy center. If you drop whole, untouched tomatoes into the brine, that skin makes it harder for the vinegar mixture to work its way inside.
Pricking each tomato two or three times with a toothpick creates tiny openings for the pickling brine to penetrate.
It also helps reduce the chance that the skins will split dramatically when they come into contact with the warm liquid.
You don’t need to push the toothpick all the way through the tomato. Two or three gentle pokes are enough. Try to keep the holes small so the tomatoes maintain their shape rather than leaking their juices into the jar.
This one small step makes a big difference in how much flavor gets inside each tomato, which is why you’ll see it used in many recipes for quick pickled cherry tomatoes.
How Long Do Cherry Tomatoes Need to Pickle?
Give your tomatoes at least 24 hours in the refrigerator before eating them.
During that time, the brine moves through the small holes you made with the toothpick and begins seasoning the tomato from the inside.
They’ll taste lightly pickled after the first day. If you prefer a stronger vinegar flavor, let them sit another day or two before serving.
There’s no extra work involved. Just leave the sealed jar in the refrigerator and let time do the work.
Because the tomatoes are delicate and juicy, they don’t need the long pickling period required by some firmer vegetables. That makes them ideal when you want an easy quick pickle recipe without waiting a week to try it.
Expert Tips for the Best Pickled Cherry Tomatoes
- Give them the full 24 hours. The tomatoes need time to absorb the garlic, basil, pepper, and vinegar. The flavor gets better after a good overnight rest in the refrigerator.
- Start with firm tomatoes. Very ripe, soft, or cracked tomatoes are more likely to become mushy in the brine. Firm ripe tomatoes give you the best combination of juicy texture and fresh flavor.
- Prick, don’t slice. Two or three tiny toothpick holes let the brine get inside while helping the tomato stay whole. Cutting the tomatoes in half changes the texture and can make the brine watery.
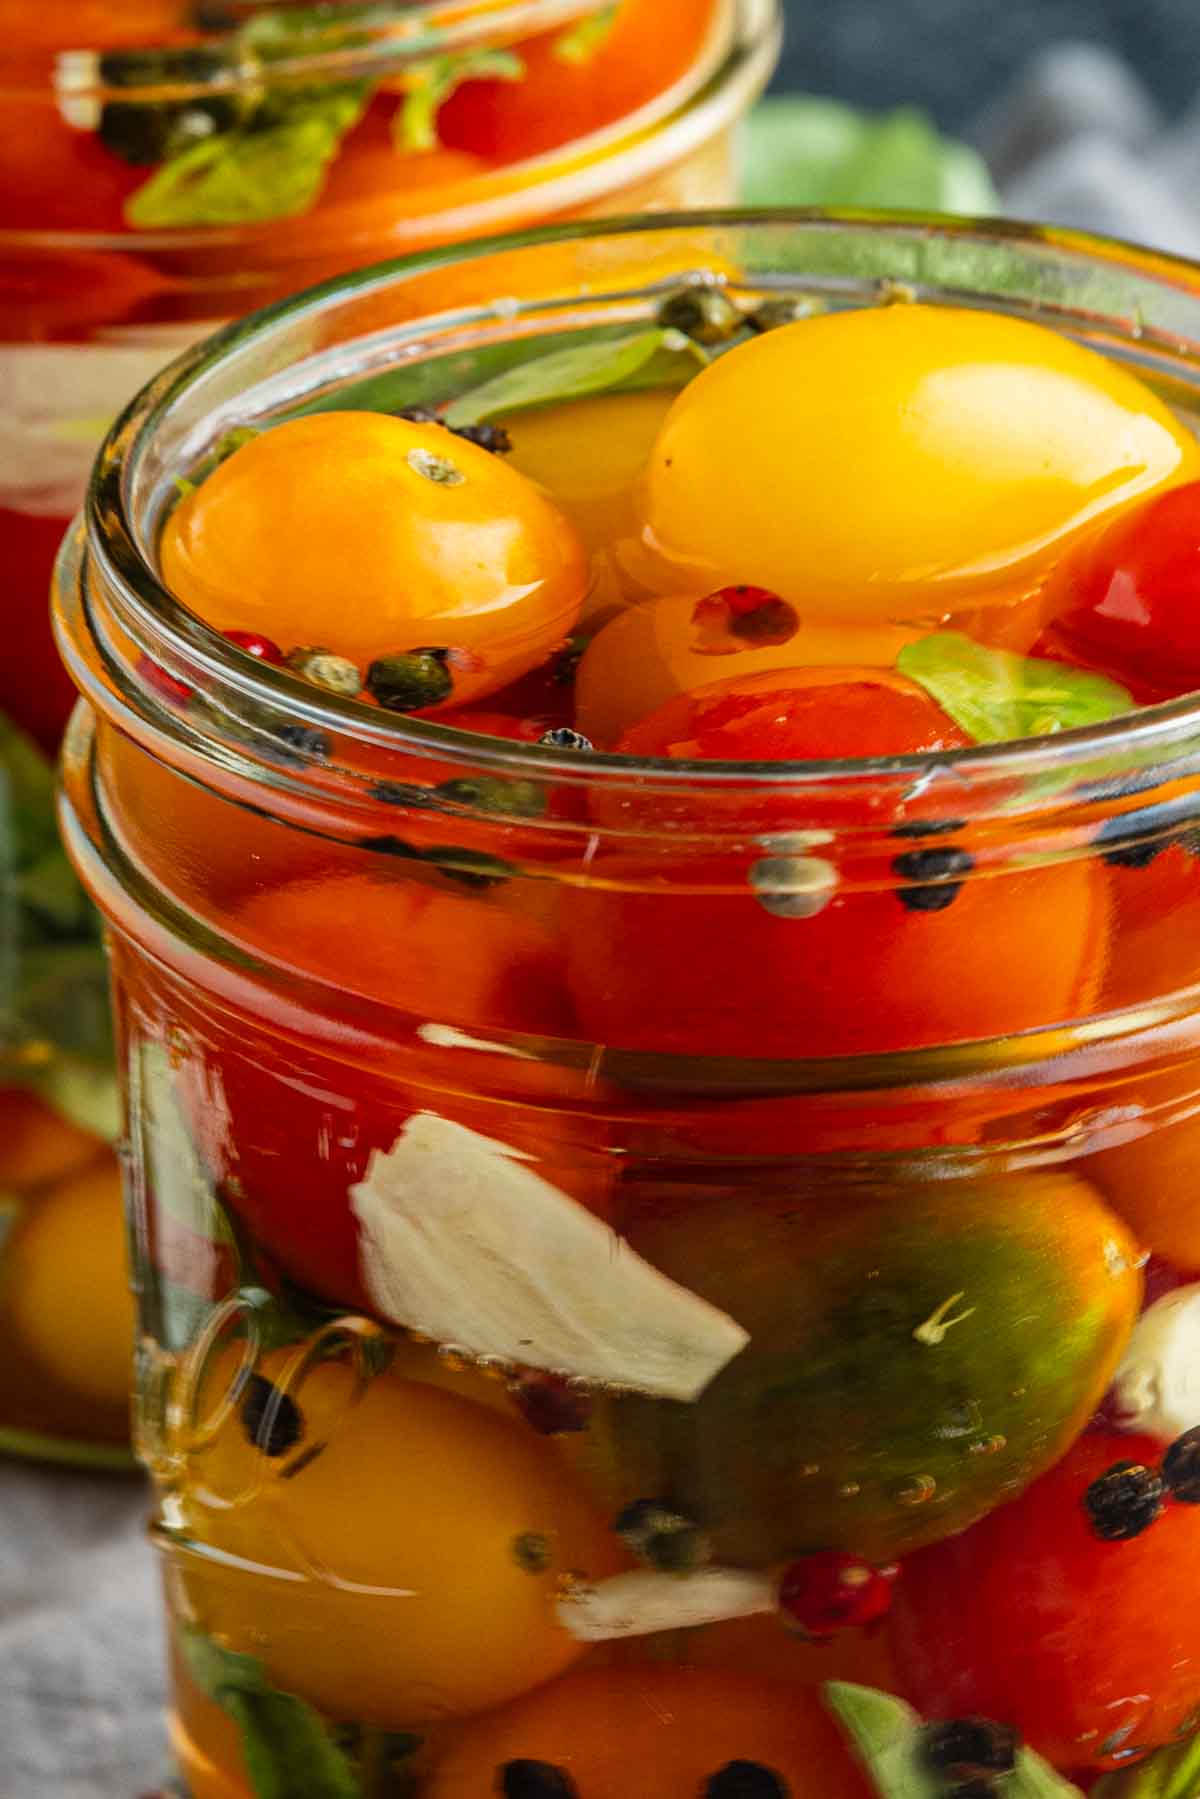
What to Serve With Pickled Cherry Tomatoes
One of my favorite things about cherry tomato pickles is how many ways you can use them.
They’re flavorful enough to eat right out of the jar. Put a small bowl on the table with toothpicks and you have a simple snack or appetizer.
For lunch, add them to a green salad, grain bowl, or pasta salad. The tangy brine acts almost like a built-in splash of vinaigrette, so they’re especially good with creamy cheeses (I love to add mine to cottage cheese for a yummy snack!), fresh greens, and herbs.
They also make an excellent addition to sandwiches and wraps. Try slicing a few tomatoes and adding them to turkey sandwiches, chicken wraps, veggie sandwiches, or grilled cheese.
For breakfast or brunch, spoon them over avocado toast and add a little crumbled feta. You can also serve them alongside eggs or add them to a savory breakfast bowl.
At dinnertime, they provide a bright acidic contrast to rich foods. Serve them with grilled chicken, steak, pork, burgers, or sausages. They’re also delicious alongside grilled or roasted fish.
Planning a party? Put the whole tomatoes in a small serving bowl as part of a charcuterie, antipasto, or grazing board. They pair especially well with mozzarella, feta, goat cheese, salami, olives, crackers, and toasted bread.
You can even use them as a garnish for a Bloody Mary.
And don’t pour all that flavorful liquid down the drain as soon as the tomatoes are gone. A small splash of the leftover tomato-basil brine can add tang to salad dressings or marinades.
More Quick Pickled Vegetable Recipes
Once you see how easy these homemade pickled vegetables are to make, it’s hard to stop with tomatoes.
Our How to Make Quick Pickled Vegetables guide is the best place to start if you want to understand the basic method and then experiment with different vegetables.
For something crunchy and slightly sweet, make our Quick Pickled Carrots. They’re great for salads, sandwiches, tacos, bowls, or snacking straight from the jar.
Our Quick Pickled Radishes add bright color and a peppery bite to tacos, salads, sandwiches, and grain bowls.
If you want a crunchy vegetable pickle with lots of texture, try our Quick and Easy Pickled Cauliflower with colorful bell peppers and warming spices.
For taco night, nachos, sandwiches, and burgers, you can’t go wrong with Quick Pickled Jalapeños or Pickled Red Onions.
And if your summer garden is overflowing, our Refrigerator Pickled Zucchini and Pickled Green Beans (Dilly Beans) are two more delicious ways to make the most of fresh produce.
How to Store Pickled Cherry Tomatoes
Once the jars have cooled completely, keep your quick pickled cherry tomatoes refrigerated. They can be stored for up to 2 weeks.
These are refrigerator pickles, not shelf-stable canned pickles, so they should stay cold rather than being stored in a pantry or cupboard.
Always use a clean utensil when removing tomatoes from the jar. Keeping the tomatoes submerged in the brine also helps maintain their quality.
Because tomatoes are naturally softer and more delicate than vegetables such as carrots or cauliflower, their texture will continue to soften the longer they sit. For that reason, we like making relatively small batches that can be enjoyed while the tomatoes still have their best texture.
If the tomatoes develop an unusual odor, visible mold, excessive bubbling, or another obvious sign of spoilage, discard them.
Can You Freeze Pickled Cherry Tomatoes?
We don’t recommend freezing them.
Freezing breaks down the structure of fresh tomatoes, so once they thaw, their texture can become very soft and watery. Since one of the best things about these cherry tomato pickles is biting into a whole juicy tomato, refrigeration gives you a much better result.
Like this recipe?
Make sure to follow us on Instagram and Pinterest for more recipes like this.
Pickled Cherry Tomatoes
Ingredients
- 12 ounces Cherry tomatoes
- 3 cloves Garlic, chopped
- 1 tablespoon Black peppercorns
- 6 leaves Fresh Basil
- 1 cups Water
- 1 cups White vinegar
- 1.75 tablespoons Salt
- 1 tablespoon Sugar
Instructions
- Wash tomatoes and gently prick each one 2-3 times with a toothpick.
- Divide tomatoes, garlic, peppercorns, and basil evenly between your jars.
- In a small saucepan add the water, white vinegar, salt, and sugar. Heat over medium high heat, stirring constantly until sugar and salt are fully melted.
- Remove the brine from the heat and slowly pour the hot brine over the tomatoes in the jars, filling them to the top with brine. Place the lids on the jars sealing them tightly.
- Let the jars cool completely then place them in the refrigerator to chill for 24 hours before serving.
Notes
Nutrition
