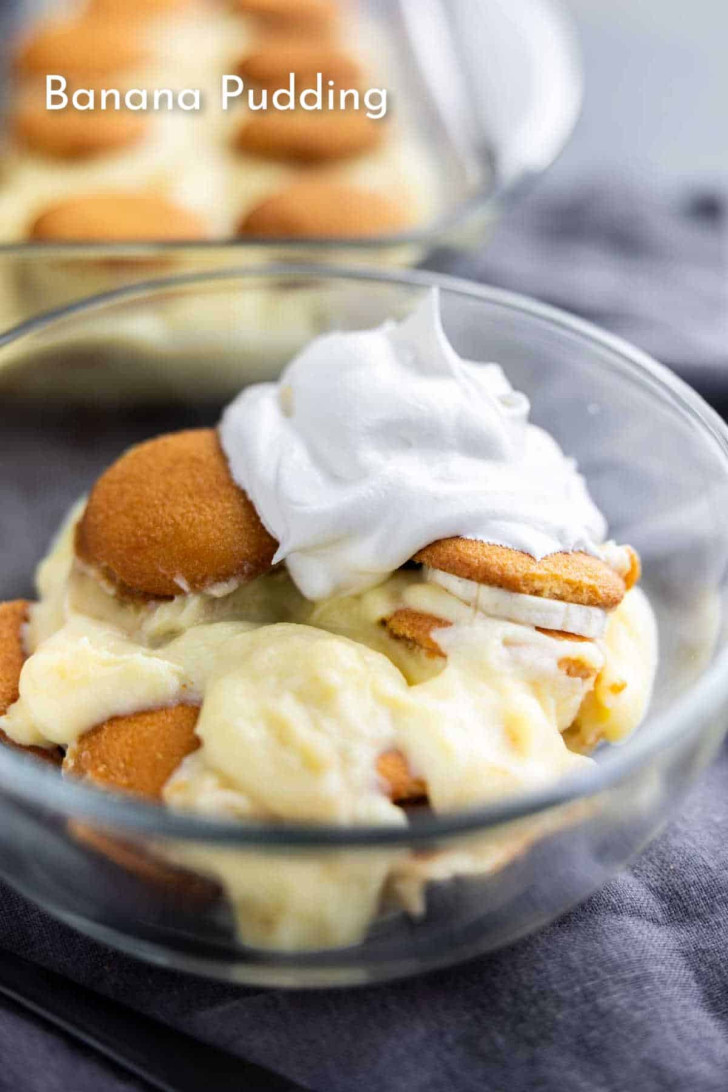
Classic Banana Pudding With Homemade Vanilla Pudding
Note: This post may contain affiliate links. That means if you click on a link and make a purchase we may receive a small commission. Thank you!
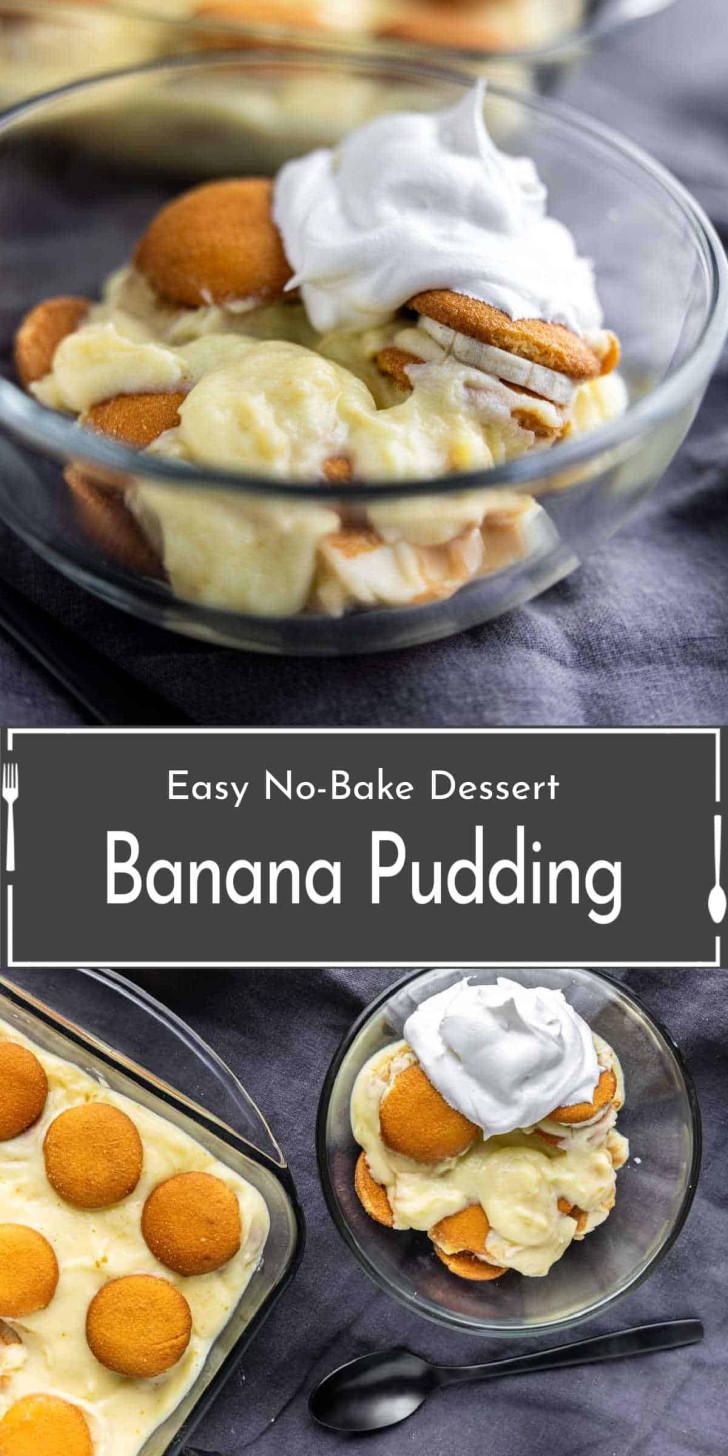
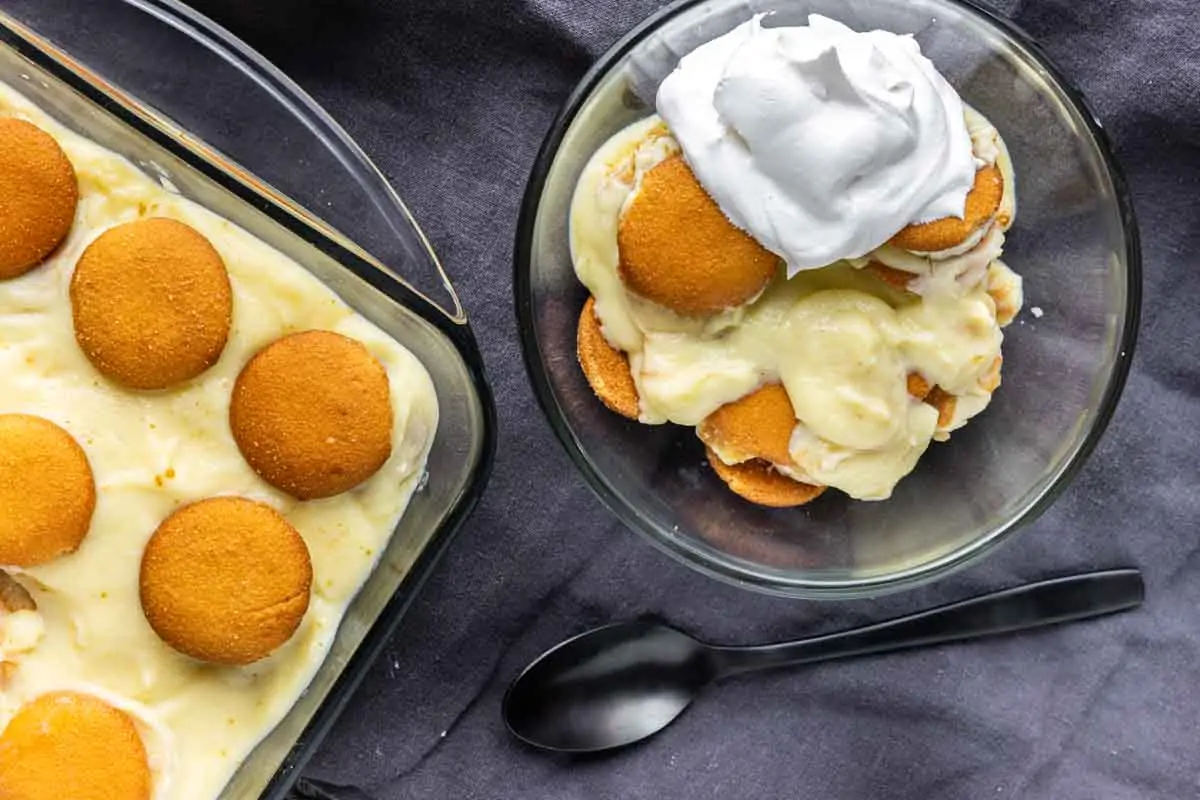
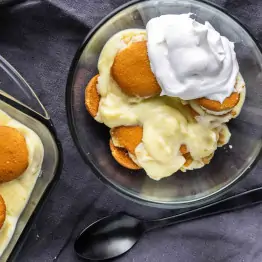
This classic banana pudding with homemade vanilla pudding layers ripe banana slices and vanilla wafers in a rich, creamy custard. It’s the perfect make‑ahead dessert for family dinners, potlucks, and holiday celebrations.
Banana pudding is a classic Southern recipe that I grew up eating. The key to the best banana pudding is making the vanilla pudding from scratch. Instead of using instant mixes, I make a delicious, creamy vanilla custard that is layered with the slices of ripe bananas and vanilla wafers. Everything is chilled together and the pudding takes on the banana flavor and softens the wafers. The result is a creamy, make‑ahead dessert that’s perfect for a family dinner, potluck, or holiday meals.
You know we love banana pudding because we have made so many desserts with the same flavor profile. If you’re as big a fan as we are, make sure to try our Banana Pudding Cake and Easy Donut Trifle.
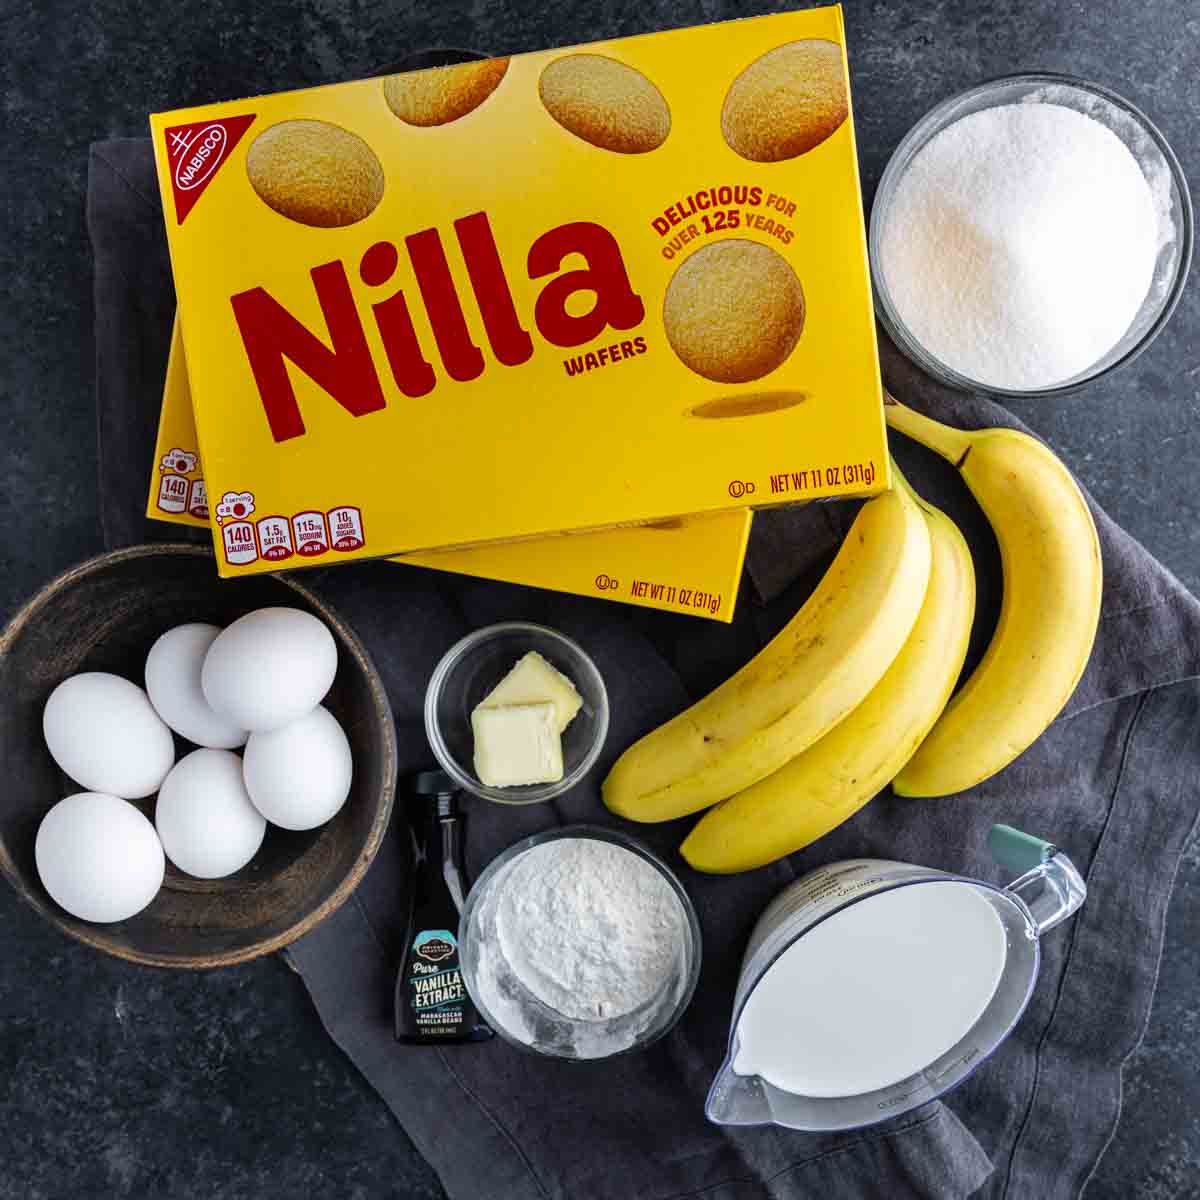
Ingredients You’ll Need
- Ripe bananas – Use bananas that have some sweetness and softness but aren’t overly mushy. They bring freshness and flavor to each layer. For a substitution, you could use slightly firmer bananas if you like more texture.
- Vanilla wafers – Nilla Wafers are the traditional cookie used. These form the crunchy/softening layers that give that classic banana pudding texture. If you can’t find vanilla wafers, you could substitute butter cookies shortbread with a vanilla profile, or graham crackers.
- Egg yolks (room temperature) – These are key for the homemade vanilla pudding (custard) base, creating richness and body.
- Sugar – Sweetens the custard base.
- Cornstarch – Acts as the thickener for the vanilla pudding, giving it that silky texture.
- Whole milk – Provides the creamy base for the custard. Don’t skip the whole milk it adds all of the richness to the pudding.
- Vanilla extract – Adds that warm vanilla flavor to the pudding; feel free to use pure vanilla extract for best flavor.
- Butter – Incorporated into the hot custard for richness and smoothness. You could substitute with margarine if needed, though real butter gives the best flavor.
If you’re looking for another easy banana dessert, make sure to try our banana fluffernutter pie or this simple banana cream cheesecake dip.
Instructions
Step 1 – Make egg mixture. In a large bowl, combine the egg yolks, sugar, and cornstarch. Whisk together until well‑mixed and pale yellow.
Step 2 – Heat milk. In a medium saucepan, heat the whole milk over medium‑high heat until the milk starts to foam up (do not let it boil).
Step 3 – Combine with eggs. Remove the milk from the heat and slowly drizzle it into the egg mixture, whisking the whole time (this is the tempering step to prevent curdling).
Step 4 – Cook. Pour the custard mixture back into the saucepan and cook over medium heat, whisking constantly, until the mixture begins to bubble. Then cook for an additional 60 seconds and remove from the heat.
Step 5 – Add flavor. Stir in the butter and vanilla extract, and whisk until smooth.
Step 6 – Strain. Place a fine mesh sieve over a large bowl. Pour the custard through the sieve to remove any lumps—this ensures a silky smooth homemade vanilla pudding.
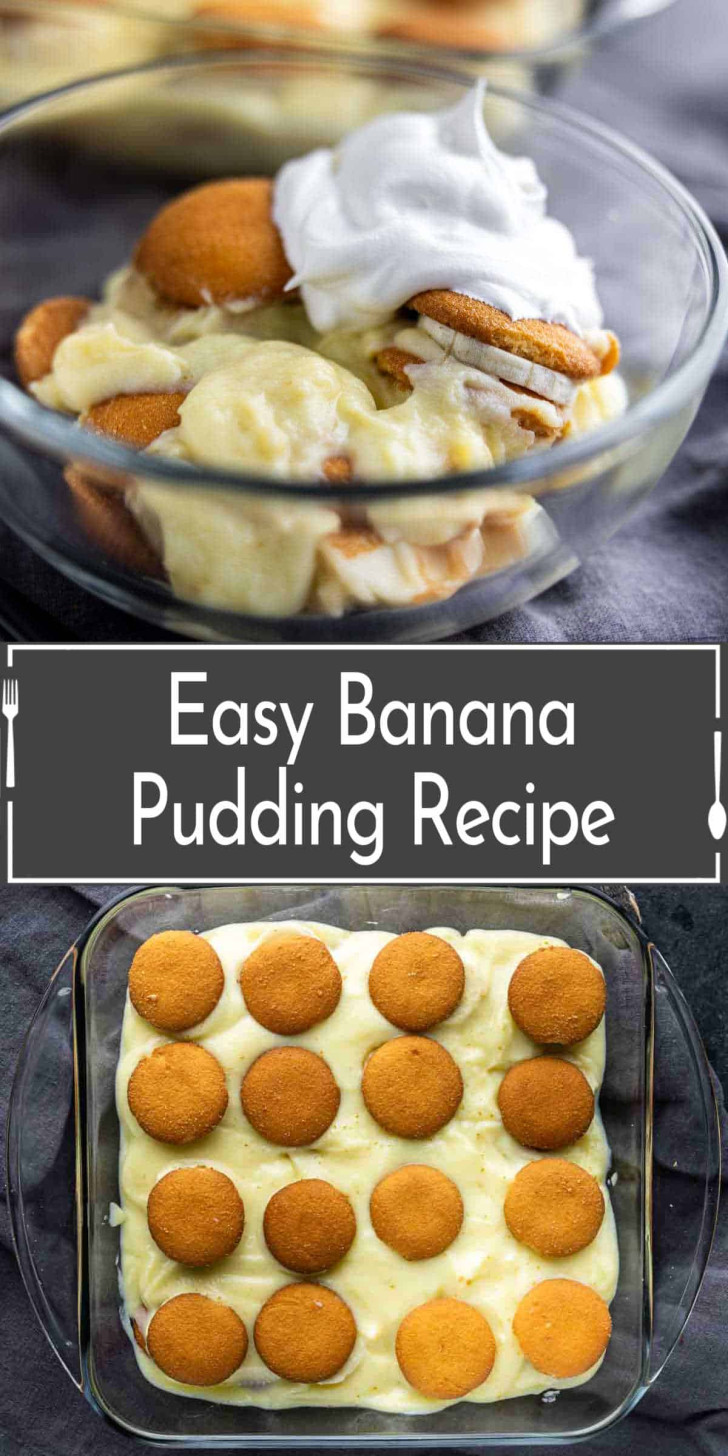
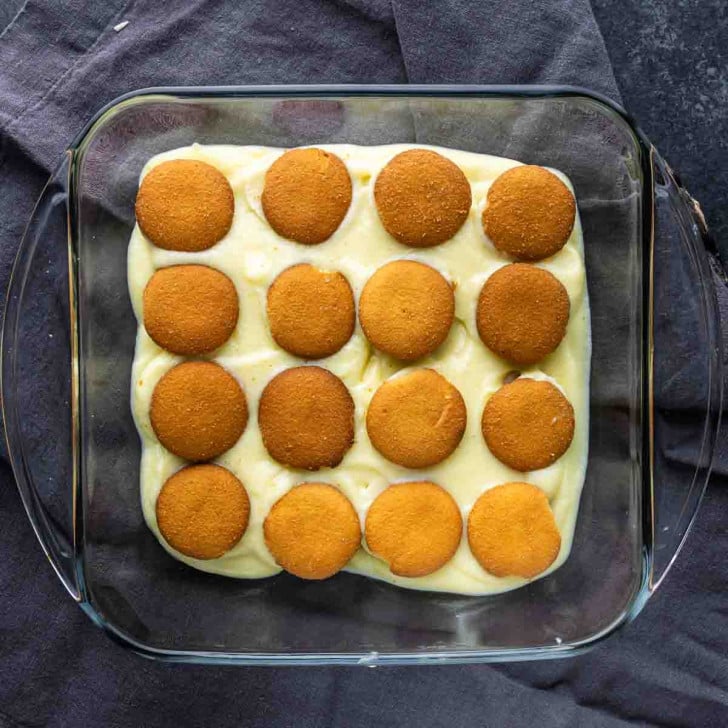
Step 7 – Assemble. Spoon a small amount of the custard into the bottom of an 8 × 8‑inch glass casserole dish. Then cover the bottom with a single layer of vanilla wafers, then top each wafer with a slice of banana. Top that with about one‑third of the homemade vanilla pudding (custard).
Step 8 – Repeat. Repeat two more times: wafers, banana, custard. Finish with one more layer of vanilla wafers on top.
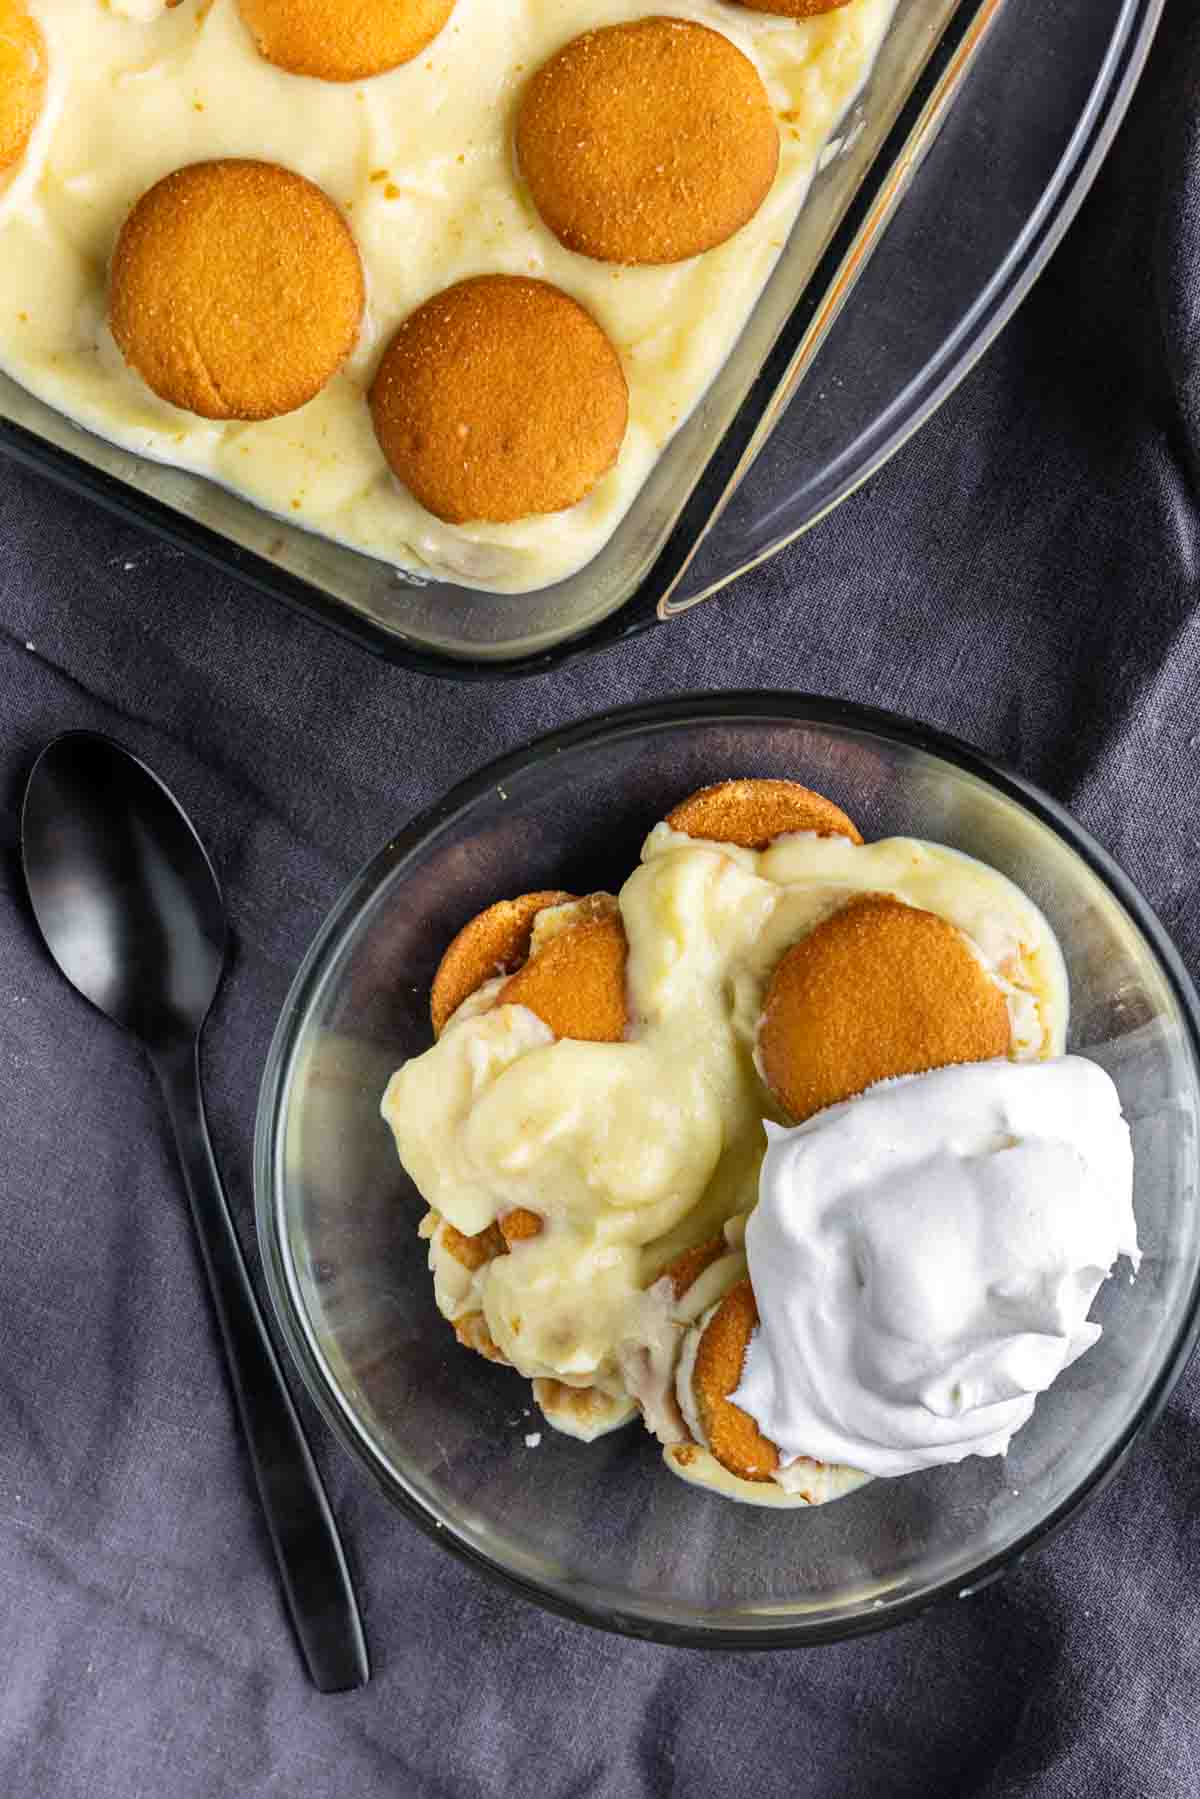
Step 9 – Chill. Cover and refrigerate for at least 2 hours, up to overnight. This chilling time lets flavors meld and wafers soften.
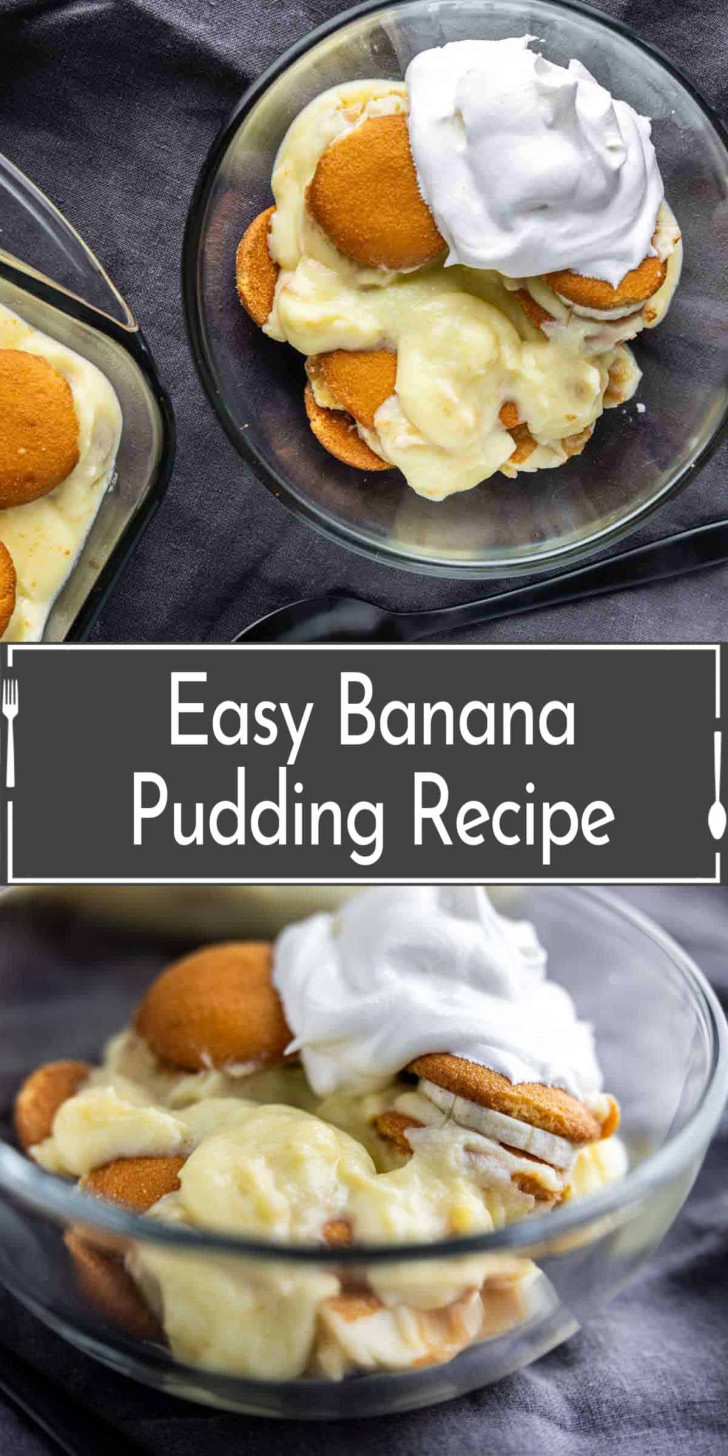
Step 10 – Serve. When ready to serve, you can serve as is or top with whipped cream or Cool Whip for extra fluff.
Frequently Asked Questions (FAQs)
Yes, many recipes do. But making the pudding from scratch gives it a richer texture and flavor.
The bananas should be nicely yellow with some brown specks—sweet, but still firm enough to hold shape when layered. Over‑ripe bananas may turn mushy and make the layers heavy.
Absolutely. One of the great features of this layered dessert is that you can assemble it ahead of time (even the night before) and chill. It actually tastes better after the flavors have had time to meld.
After chilling and layering, keep the pudding covered and refrigerated. Best if consumed within 2–3 days. The wafers will continue to soften over time so for best texture serve within that timeframe.
It’s not ideal to freeze because the texture of bananas and wafers may change (bananas can get mushy, wafers soggy). Best to assemble fresh and chill, rather than freeze.
Storage
Storage: Keep the assembled pudding covered in the refrigerator. Use an airtight lid or plastic wrap to cover the dish. It should stay good for up to 2‑3 days. After that the wafers may become too soft and bananas may discolor.
Leftover tips: If you find the top layer of wafers a little too softened the next day, add a fresh handful of vanilla wafers just before serving for crunch. And if you notice banana slices darkening, you can top with fresh banana slices just before serving to refresh the look.

Like this recipe?
Make sure to follow us on Instagram and Pinterest for more recipes like this.
Classic Banana Pudding with Homemade Vanilla Pudding
Ingredients
- 3 Ripe Bananas
- 64 Nilla Wafers
- 6 Egg yolks , room temp
- 1 cup Sugar
- 4 tablespoons Corn starch
- 2.5 cups Whole milk
- 2 tablespoons Vanilla extract
- 2 tablespoons Butter
Instructions
- In a large bowl combine the egg yolks, sugar, and corn starch. Whisk together until well mixed and pale yellow..
- Add the milk to a medium saucepan and heat over medium-high heat until the milk starts to foam up (don’t let it boil).
- Remove the milk from the heat and slowly drizzle into the egg mixture, whisking the whole time.
- Pour the custard back into the sauce pan and cook over medium heat, whisking constantly, until the mixture begins to bubble. Cook for an additional 60 seconds and then remove from the heat.
- Add the butter and vanilla extract and whisk together.
- Place a fine mesh sieve over a bowl large enough to hold the custard. Pour the custard through the fine mesh sieve to remove any lumps.
- Spoon a small amount into the bottom of an 8 x 8 inch glass casserole dish. Cover the bottom with a single layer of Nilla wafers then top each wafer with a slice of banana. Top with approximately ⅓ of the custard.
- Repeat two more times, wafers, banana, custard.
- Top with one more layer of wafers.
- Cover and refrigerate for at least 2 hours up to overnight.
- Serve as is or add a Cool Whip or whipped cream topping before serving.
Nutrition
