

Easy Refrigerator Pickled Garlic Recipe
Note: This post may contain affiliate links. That means if you click on a link and make a purchase we may receive a small commission. Thank you!
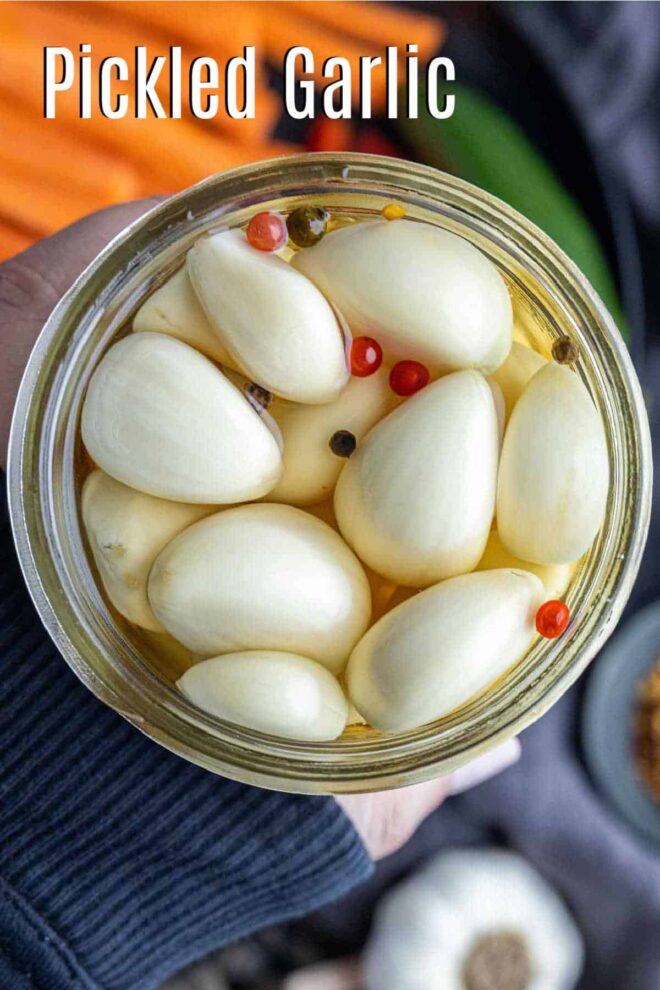
Make crisp, tangy pickled garlic with this easy refrigerator recipe. It takes just 15 minutes to prepare and adds bold flavor to snacks, salads, pasta, and more.
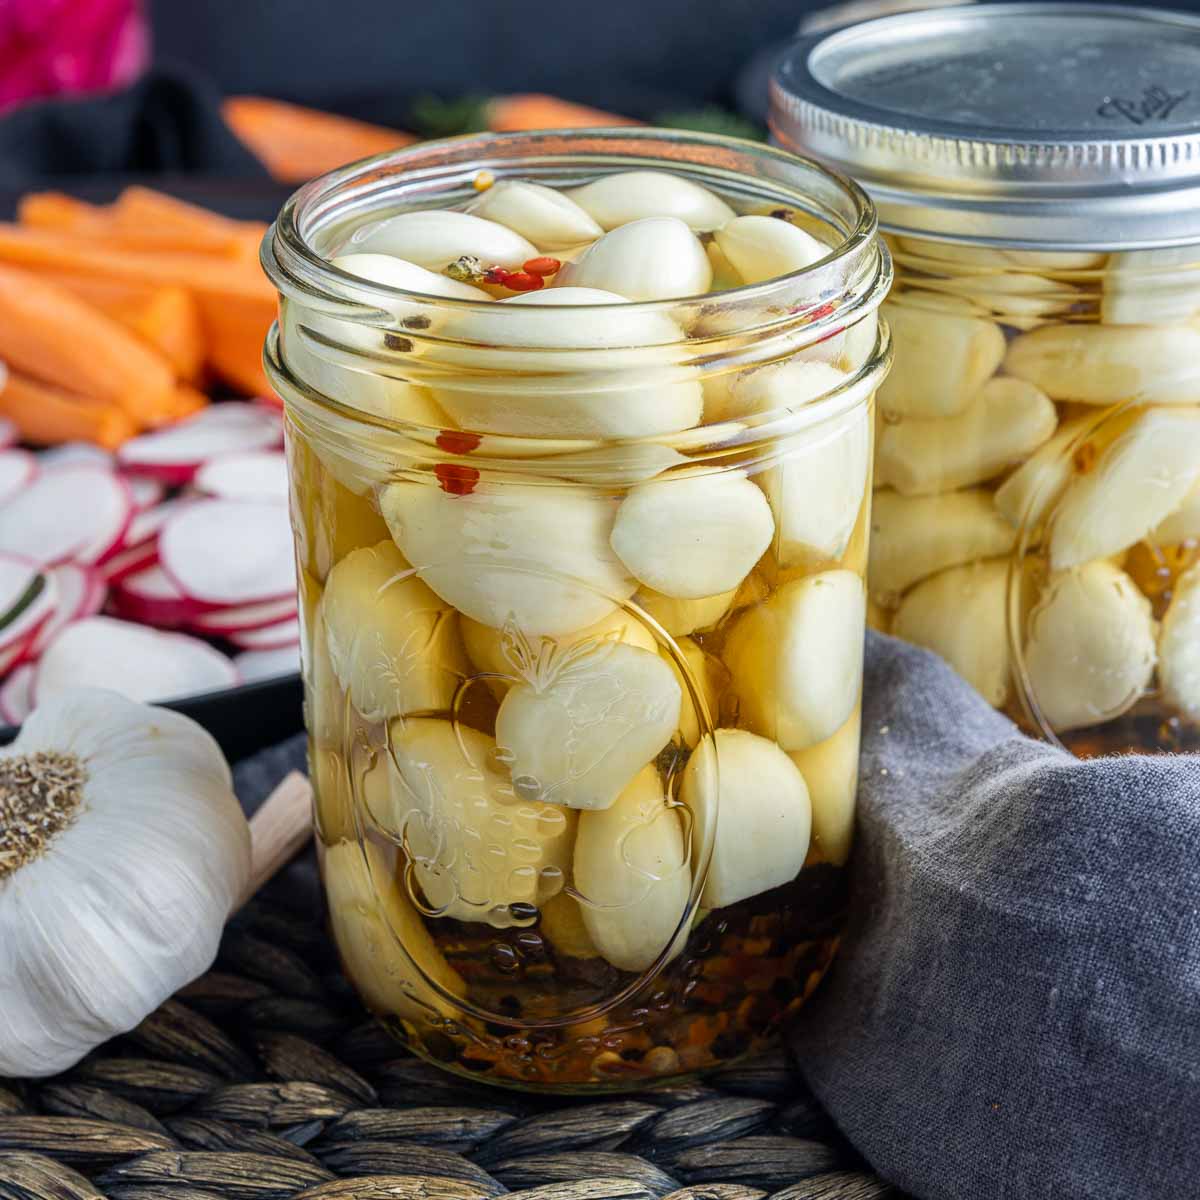
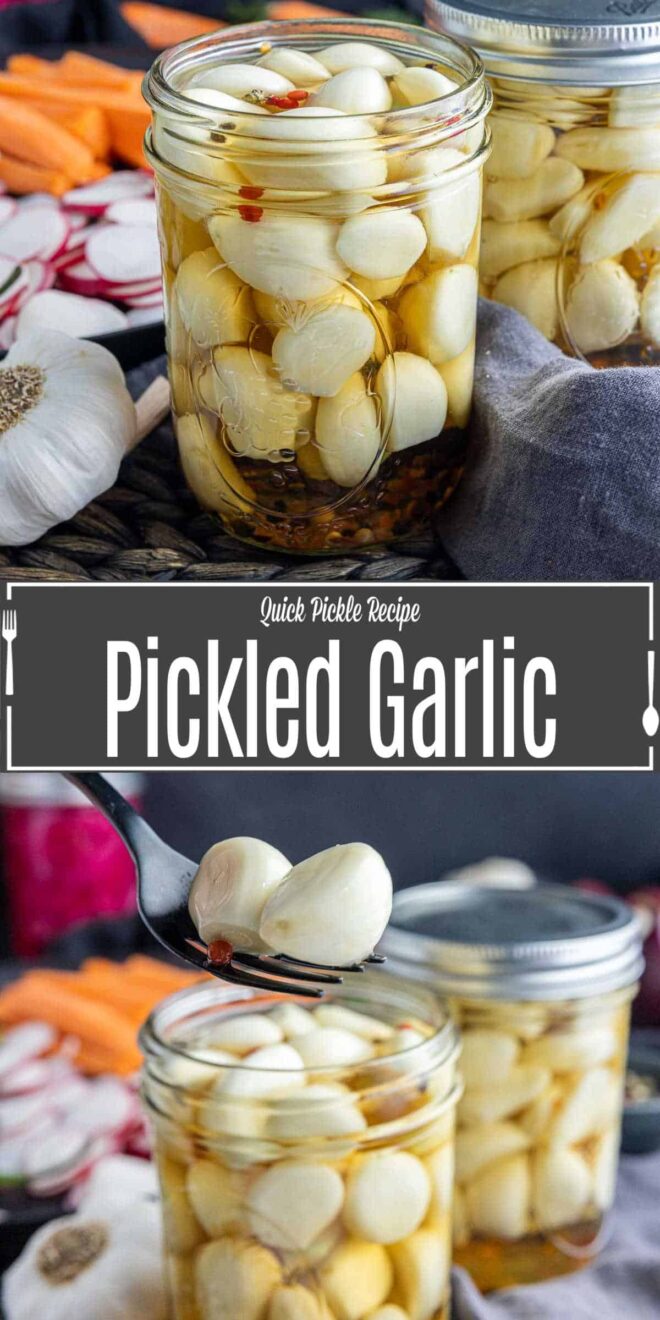
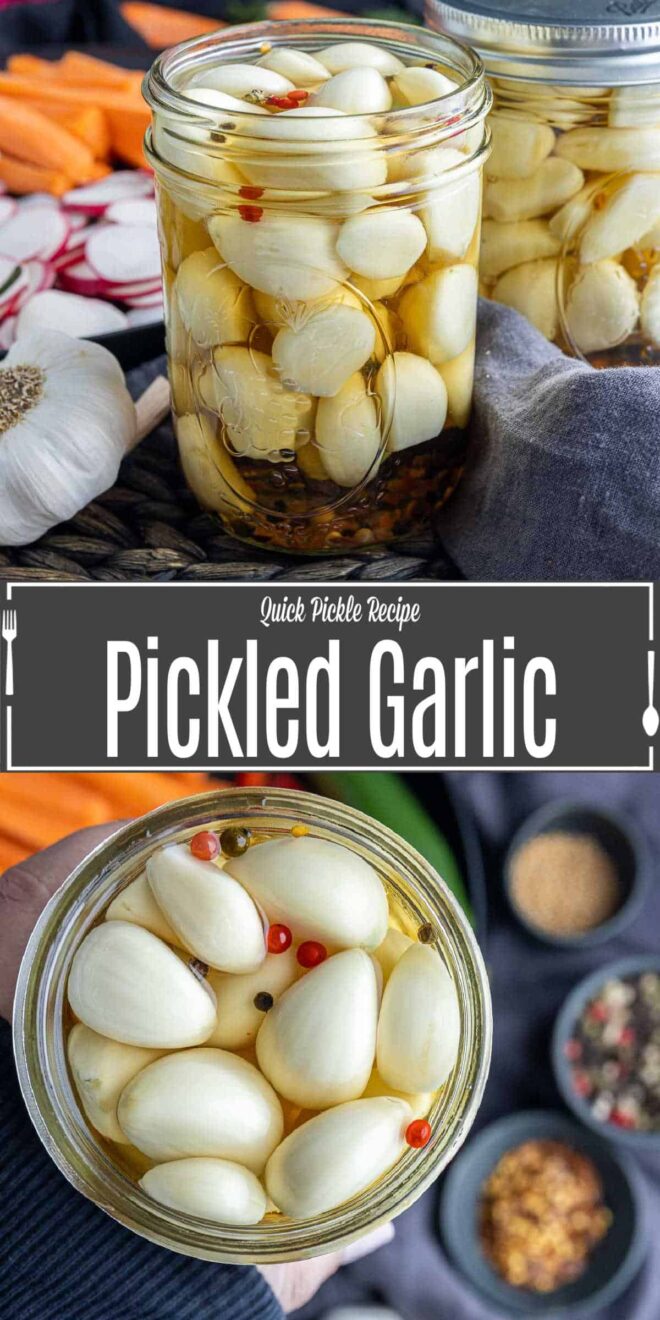
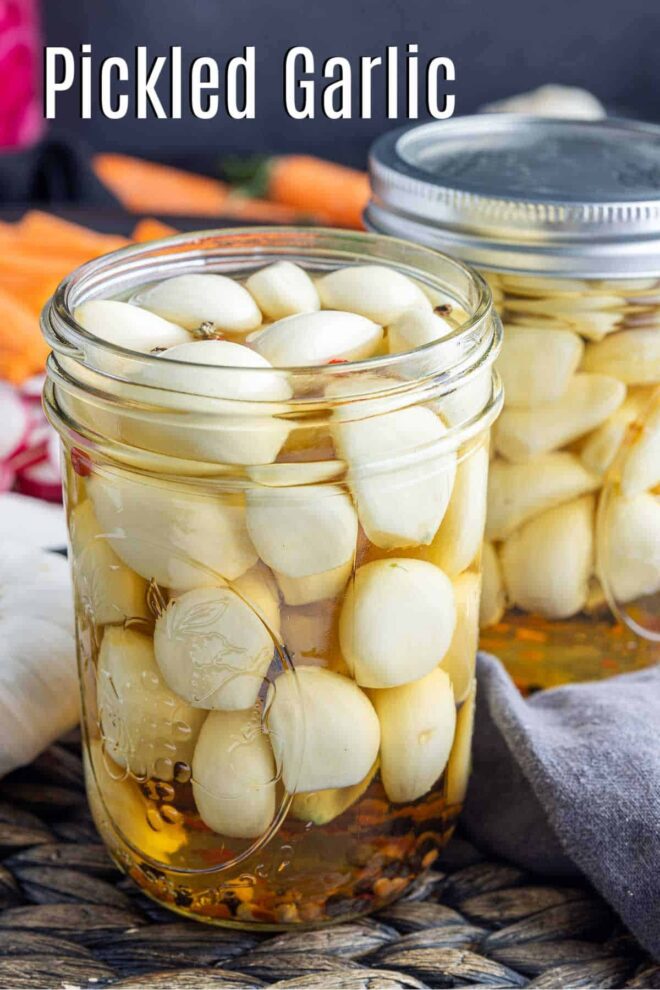
This easy pickled garlic recipe transforms sharp raw garlic cloves into a crisp, tangy, slightly sweet snack and flavorful kitchen staple. The whole recipe takes about 15 minutes to prepare, and there is no complicated canning or fermentation involved.
Simply pack peeled garlic cloves into a clean jar, cover them with a hot vinegar brine, and refrigerate the jar. The vinegar softens garlic’s harsh bite while leaving the cloves firm, crunchy, and full of flavor.
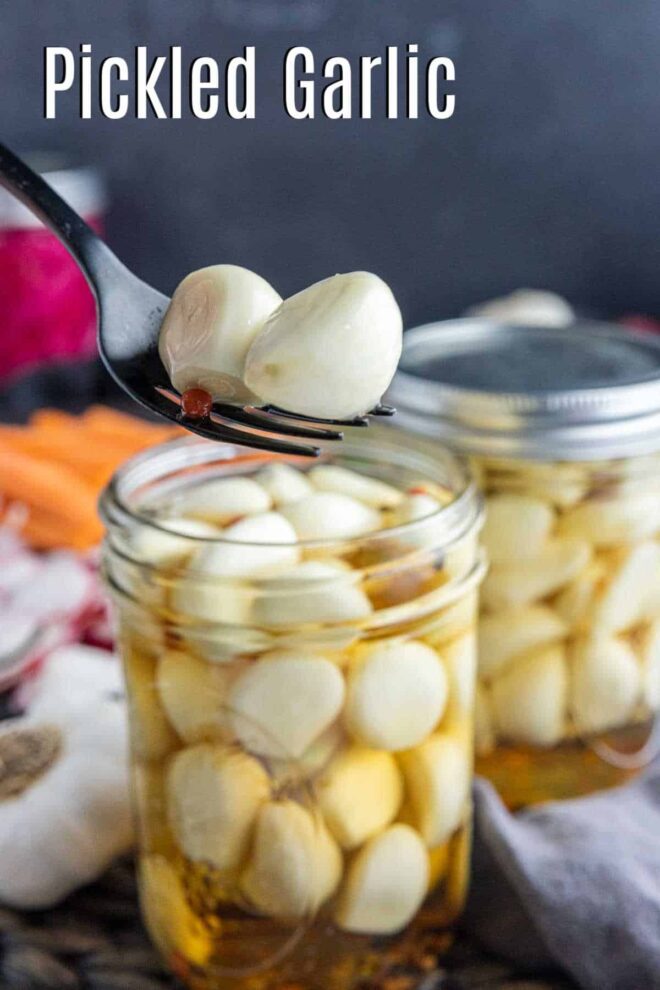
You can eat pickled garlic cloves straight from the jar, add them to a charcuterie board, chop them into pasta and salads, or use them anywhere you want a milder garlic flavor with a bright, acidic finish.
This is a refrigerator pickle recipe, so the jar must be stored in the refrigerator rather than in the pantry.
What You’ll Learn
- Why garlic sometimes turns blue or green after pickling.
- How to make crisp, tangy pickled garlic with about 15 minutes of hands-on preparation.
- More than five easy ways to use pickled garlic in everyday meals.
- How to prevent common problems such as mushy garlic and overly salty brine.
- How to store pickled garlic and tell when it is ready to eat.
Why You’ll Love This Pickled Garlic Recipe
If you love garlic but find raw cloves a little too sharp, pickling them is a delicious solution. Soaking garlic in vinegar mellows its strong bite and gives it a pleasantly tangy flavor.
This recipe is especially useful when you have several extra heads of garlic that you want to use before they begin to dry out or sprout. A single batch turns those cloves into a versatile condiment that can stay ready in your refrigerator for weeks.
Here are a few reasons this easy pickled garlic recipe works so well:
- It only takes about 15 minutes to prepare. Peeling the cloves takes most of the time. Once that is done, the brine comes together in just a few minutes.
- No canning equipment is required. You only need a small saucepan, a clean jar, and a lid.
- The flavor is easy to customize. Peppercorns and red pepper flakes give the garlic a little warmth, but you can add dill, mustard seeds, coriander seeds, or sliced peppers.
- The cloves stay pleasantly firm. Starting with fresh garlic and avoiding prolonged cooking helps preserve the garlic’s texture.
- It has dozens of uses. Serve the cloves as a snack or use them as a flavorful ingredient in sauces, dressings, pasta, pizza, roasted vegetables, and more.
What Does Pickled Garlic Taste Like?
Pickled garlic tastes tangy, savory, and slightly sweet, with a much milder garlic flavor than raw garlic.
Fresh raw garlic can taste hot, spicy, and almost peppery. As the cloves sit in the vinegar brine, that aggressive bite gradually softens. The finished cloves still taste unmistakably like garlic, but the flavor is smoother and easier to enjoy on its own.
The texture should remain firm with a light crunch. It will not be as hard as completely raw garlic, but it should not be soft or mushy.
The peppercorns add a subtle earthy spice, while the crushed red pepper flakes give the brine a gentle heat. You can leave out the red pepper flakes for a completely mild batch.
Ingredients You’ll Need
All you need for pickling vegetables is a simple brine that you can customize to your liking using different combination of vegetables, herbs, and spices to make your own custom flavors. We’ve made pickled carrots, radishes, green beans, refrigerator pickled zucchini, quick pickled cucumber, and pickled cauliflower just to name a few.
We use a little more vinegar in our brine for pickling garlic because the vinegar helps to neutralize the sharp flavor of the garlic.
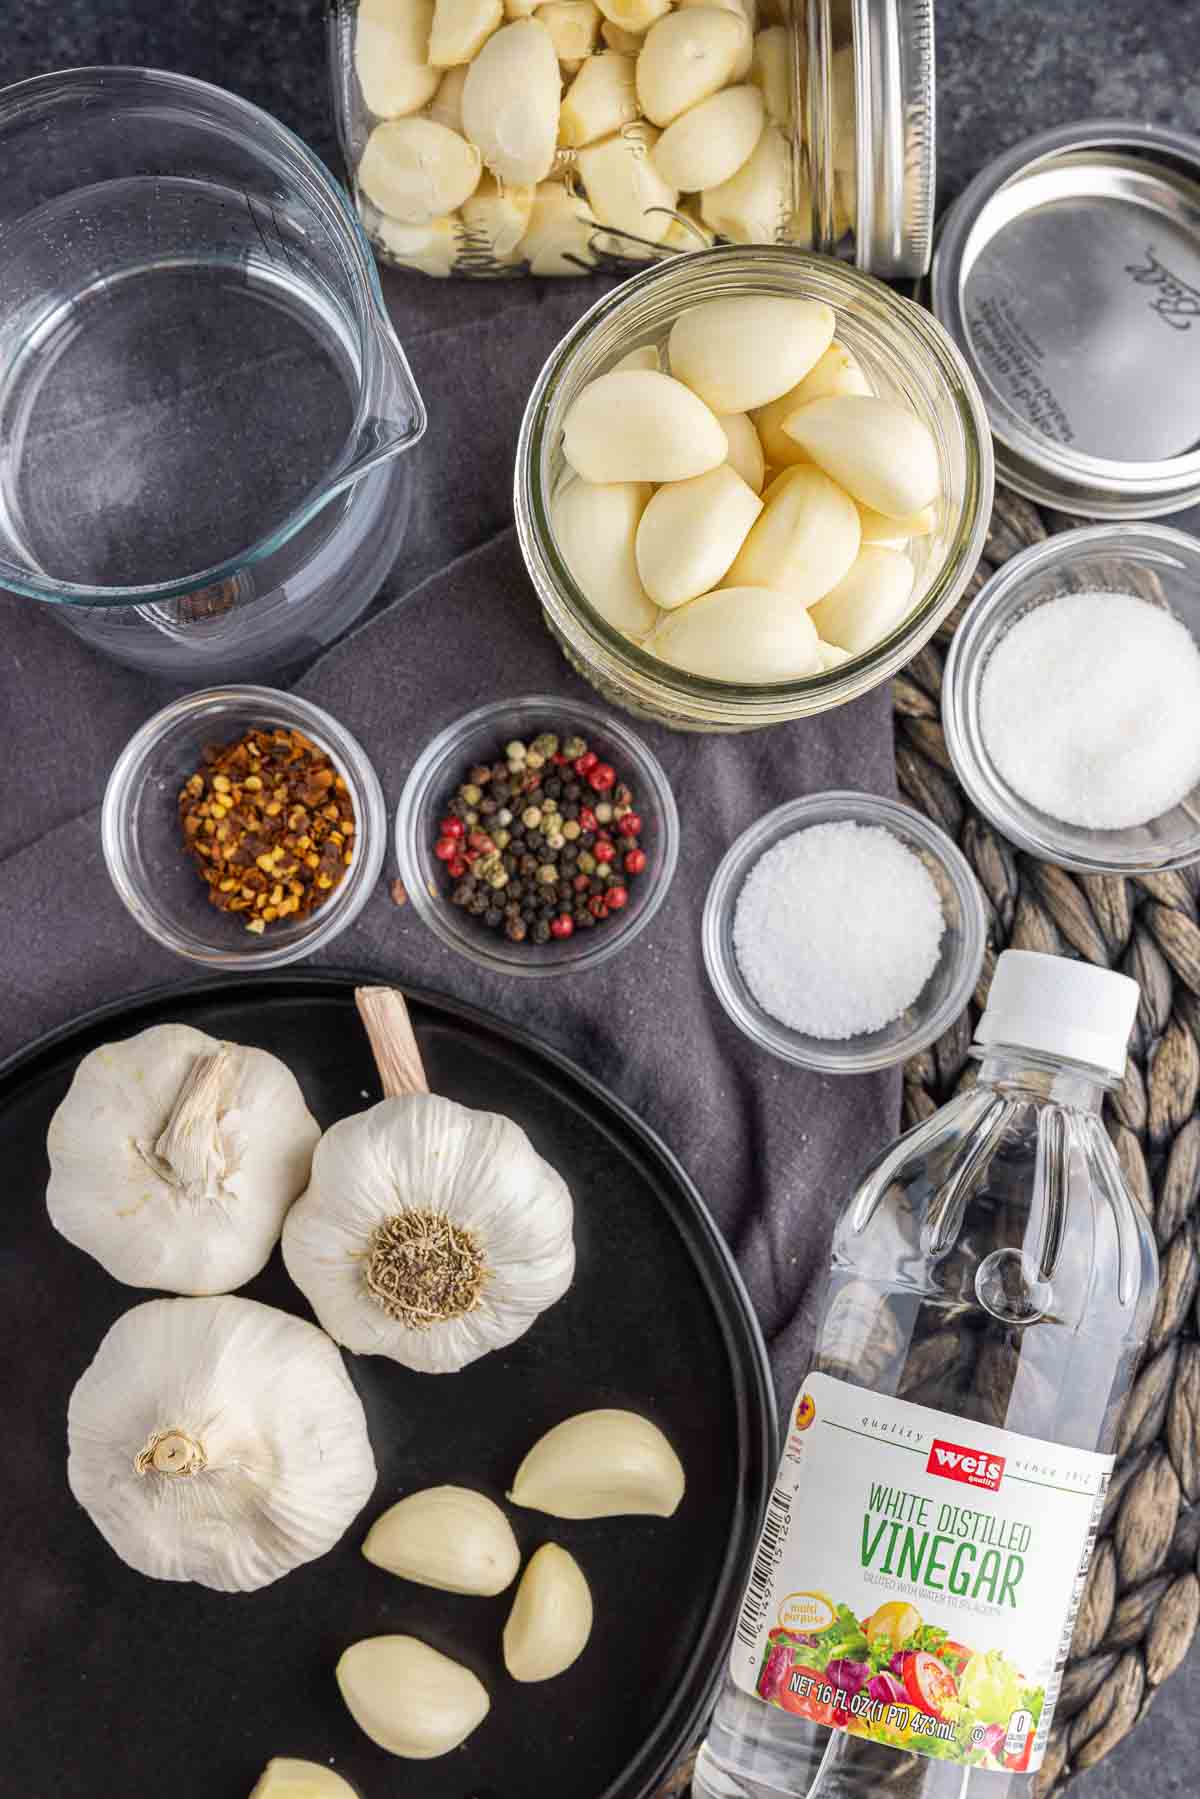
- Garlic – You’ll use approximately 6 -8 heads of garlic to fill up 2 half pint mason jars.
- White vinegar – You can substitute any vinegar you would like including rice vinegar, apple cider vinegar, or white wine vinegar. Do note that if you use red wine vinegar, it will color your garlic red.
- Water
- Kosher salt – The salt must be non-iodized. We suggest kosher salt or sea salt. Iodized salt will turn vegetables a dark color and make your brine cloudy.
- Sugar – You can use alternatives to sugar such as honey, agave, maple syrup, or an artificial sweetener such as Stevia or Splenda.
- Black Peppercorns – always a good choice for giving your dish some spice
- Crushed red pepper flakes – this will give your garlic a little spice
You can also add any other herbs or spices you would like to your pickled garlic recipe, depending on your own tastes. Try adding bay leaves, coriander, or mustard seeds. Play with the spices and see what you like best!
Want to learn more. Check out our guide on How to Make Quick Pickled Vegetables!
Best Container To Use
We recommend glass wide mouth pint jars. The glass won’t react with the vinegar and they are durable and reusable with air tight seal.
Flavor Variations
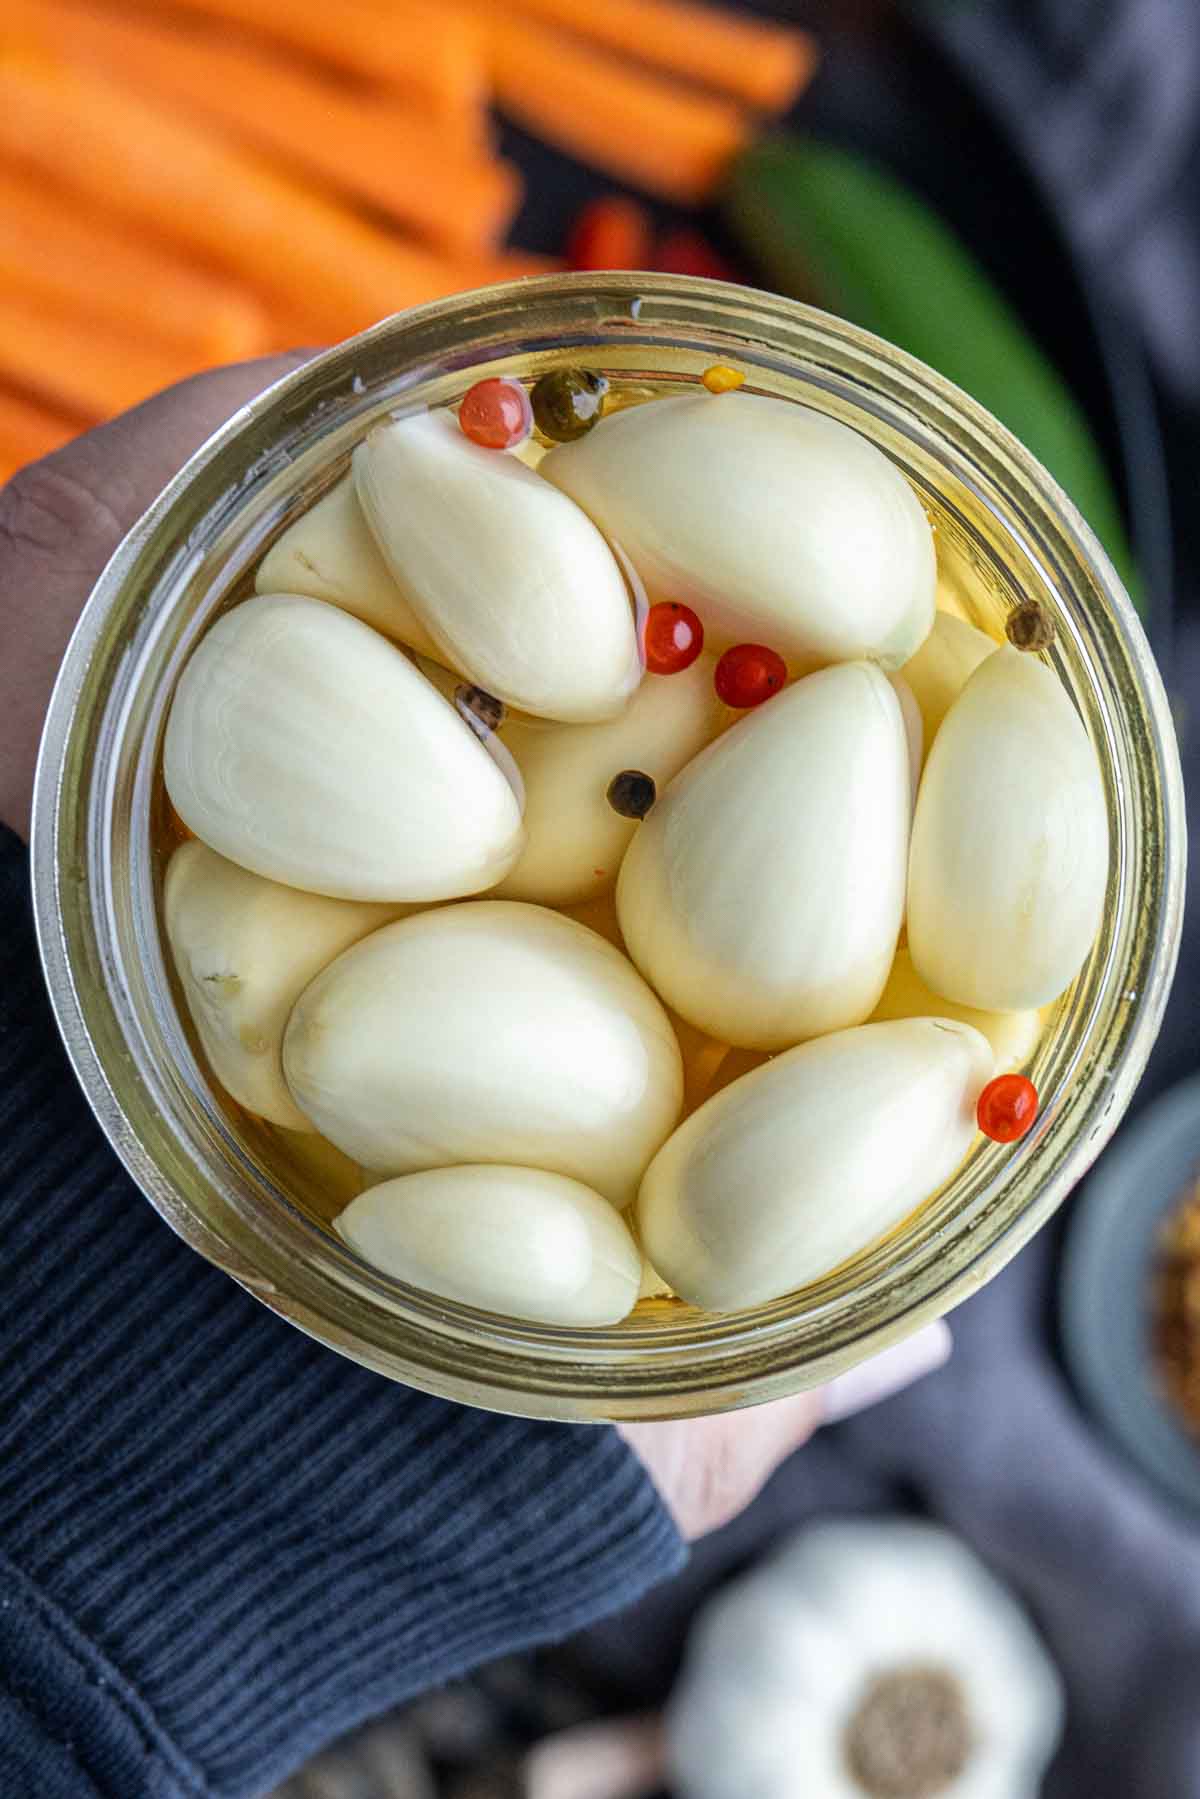
The basic brine is delicious as written, but pickled garlic is easy to customize.
- For dill pickled garlic, add two or three sprigs of fresh dill or ½ teaspoon dill seeds.
- For a more traditional pickling flavor, add ½ teaspoon mustard seeds and ½ teaspoon coriander seeds.
- For extra-spicy garlic, add thin slices of fresh jalapeño or serrano pepper.
- For an herbal version, add a bay leaf and a small sprig of rosemary or thyme.
- For slightly sweeter cloves, increase the sugar by one tablespoon.
Avoid filling the jar with too many herbs and spices. Garlic should remain the main flavor, and the cloves need enough room to stay covered by the brine.
How to Peel Garlic Quickly
Peeling eight heads of garlic can sound like the hardest part of this recipe, but a few simple methods make the job easier.
Hot-Water Method
Separate the heads of garlic into individual cloves and place them in a heat-safe bowl.
Pour very hot water over the cloves and let them sit for one minute. Drain them, trim off the hard root end, and gently press or pinch each clove. The peel should slip away more easily.
Do not leave the garlic in hot water for an extended period. Too much heat can begin softening the cloves.
Jar-Shaking Method
Place the separated garlic cloves in a large jar or container with a tight-fitting lid. Do not fill the container more than halfway.
Shake vigorously for about one minute. The movement helps loosen the papery skins so they are easier to remove.
You may still need to peel a few cloves by hand, but this method can speed up a large batch considerably.
Buy Peeled Garlic
Store-bought peeled garlic is the fastest option. Look for whole cloves that are firm, pale, and free from brown spots.
Avoid frozen garlic or garlic packed in oil for this recipe. Neither will produce the same firm texture as fresh cloves.
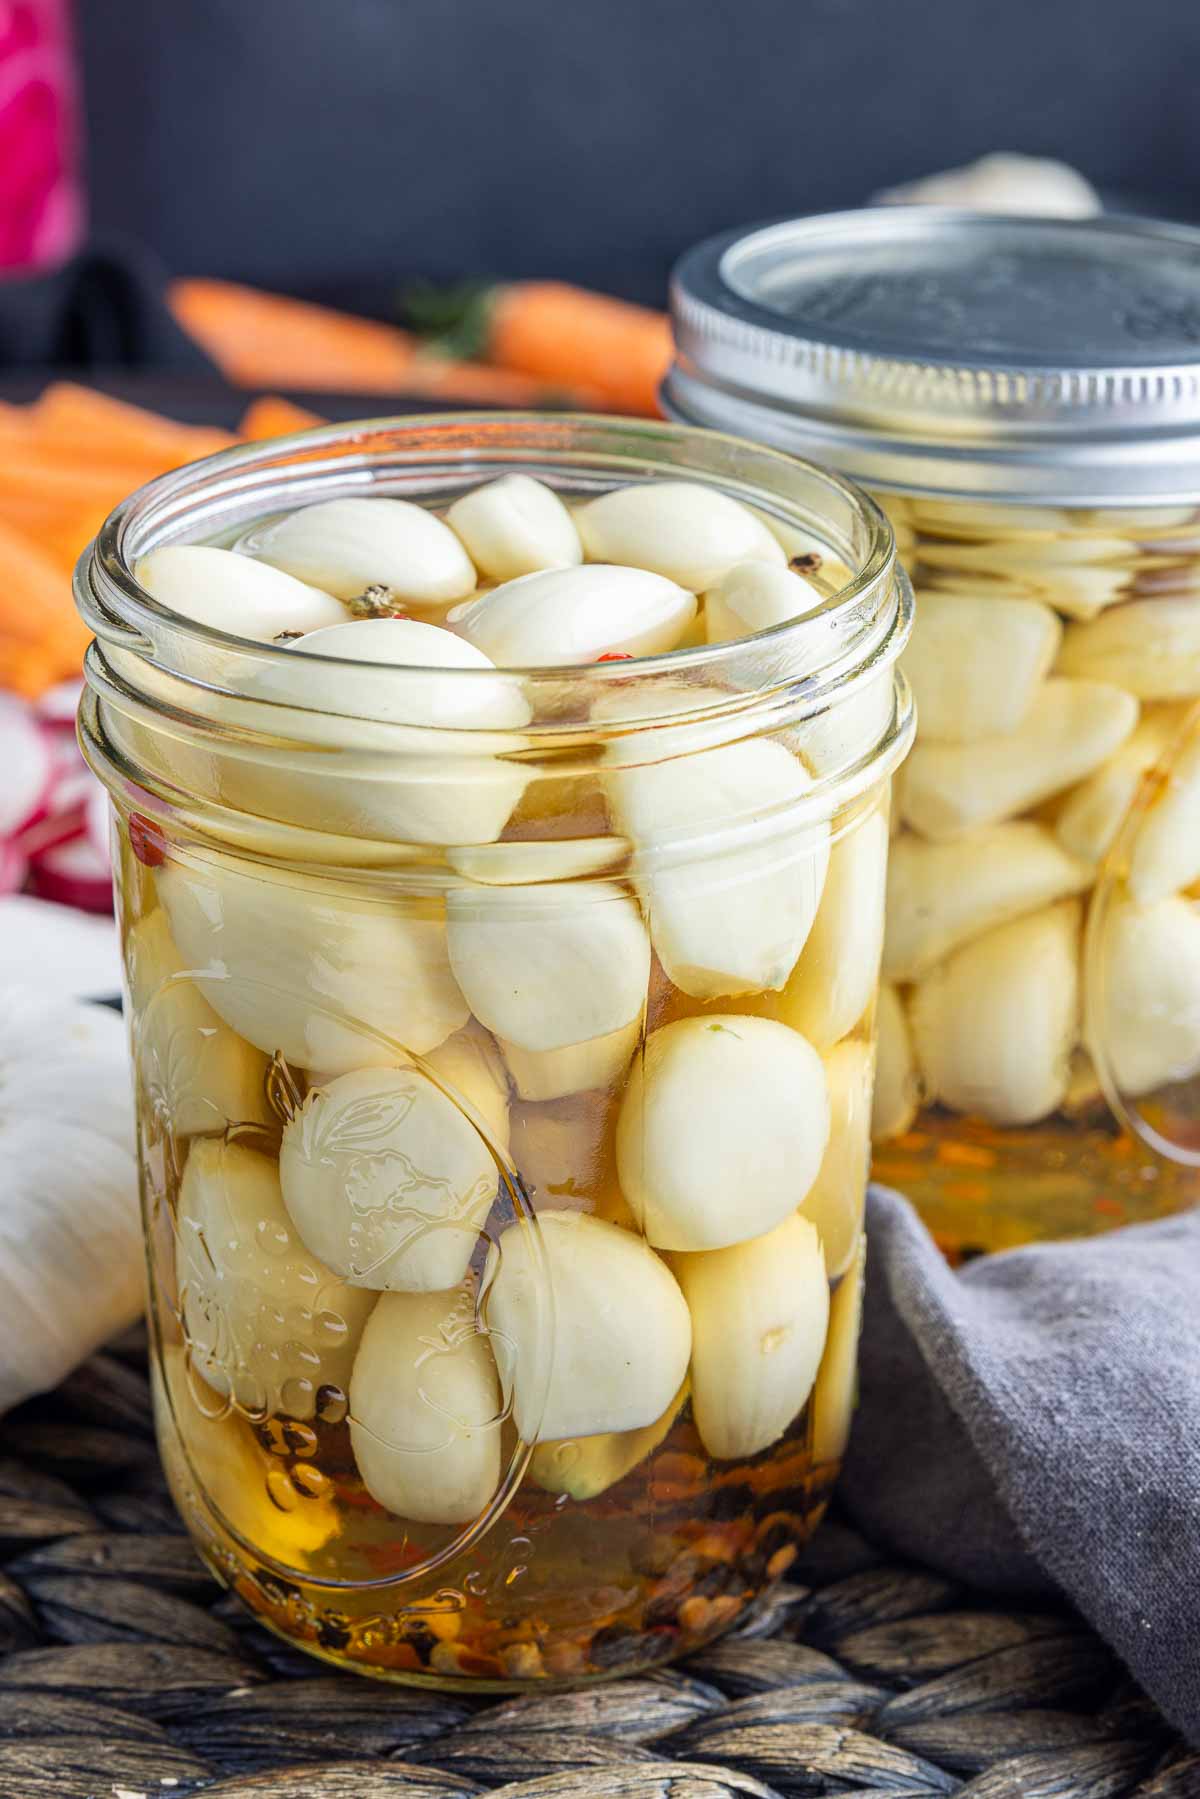
How to Make Pickled Garlic
This recipe is easy, but a few small details will help you get firm, evenly flavored cloves.
Step 1 – Prepare the Garlic. Separate the garlic heads into individual cloves.
Peel the cloves and trim off the hard root end of each one. Discard any cloves that are soft, bruised, moldy, badly discolored, or beginning to spoil.
Pack the peeled cloves into clean glass jars. Do not crush or tightly force them into the jar.
Step 2 – Make the Pickling Brine. Combine the white vinegar, water, kosher salt, sugar, peppercorns, and crushed red pepper flakes in a small saucepan.
Bring the mixture to a boil, stirring until the salt and sugar dissolve. Once it reaches a boil, remove the pan from the heat.
There is no need to simmer the brine for a long time. Extended boiling can reduce the amount of liquid through evaporation and create a stronger, saltier brine.
Step 3 – Pour the Brine Over the Garlic. Let the hot brine cool for two to three minutes.
Carefully pour it into the jars, completely covering the garlic cloves.
Gently tap the jars on the counter or run a clean utensil around the inside edge to release trapped air bubbles. Add enough brine to keep every clove submerged.
Step 4: Cool and Refrigerate. Place the lids on the jars and let them cool until they are no longer hot.
Transfer the jars to the refrigerator. The garlic can technically be tasted after it has cooled, but the flavor will still be sharp at first.
For a noticeable pickled flavor, wait at least two to three days. For the mellowest, most developed flavor, let the garlic pickle for two to three weeks.
Always return the jar to the refrigerator after serving.
When Is Pickled Garlic Ready to Eat?
Pickled garlic becomes more flavorful the longer it rests in the refrigerator.
After the first day, the cloves will still taste fairly strong and close to raw garlic.
After two to three days, the vinegar flavor will become more noticeable and the garlic’s sharp bite will begin to soften.
After one week, the cloves will taste tangier and milder.
After two to three weeks, the flavors will be fully developed and the garlic will have the mellow, balanced flavor most people expect from pickled garlic.
You do not have to wait three weeks to use it. Taste a clove periodically and begin serving it whenever the flavor suits you.
Key Benefits and Ways to Use Pickled Garlic
Once you have a jar in the refrigerator, you may be surprised by how often you reach for it.
Add It to a Charcuterie Board
Pickled garlic adds a bright, tangy bite that balances rich cheeses and cured meats.
Serve it alongside olives, crackers, marinated vegetables, along with pickled carrots, pickled radishes, and pickled red onions.
Eat It as a Snack
The vinegar mellows the harshness of raw garlic, which makes the finished cloves easy to eat straight from the jar.
Drain a few cloves and serve them with cheese, crackers, or toasted bread.
Add It to Pasta
Slice or chop the cloves and stir them into warm pasta. They are especially good in pasta salad, garlic butter noodles, tomato-based sauces, and creamy pasta dishes.
Because the garlic is already acidic, taste the dish before adding extra lemon juice or vinegar.
Use It on Pizza and Flatbread
Thinly slice the garlic cloves and scatter them over pizza before or after baking.
They pair especially well with pepperoni, sausage, mushrooms, spinach, roasted peppers, goat cheese, and mozzarella.
Stir It Into Salads
Chopped pickled garlic adds both garlic flavor and acidity to potato salad, pasta salad, bean salad, chopped salad, and grain bowls.
Start with a small amount, taste, and add more as needed.
Make Salad Dressing
Finely mince one or two cloves and whisk them into homemade vinaigrette.
You can also use a spoonful of the pickling brine in place of some of the vinegar in the dressing.
Add It to Sauces and Dips
Blend pickled garlic into hummus, salsa, pesto, aioli, ranch dressing, sour cream dip, or whipped feta.
It provides garlic flavor without the sharp burn that fresh raw garlic can add.
Serve It With Roasted or Grilled Meat
Chop the cloves and spoon them over steak, chicken, pork, or fish. The tangy flavor cuts through rich foods and works almost like a relish.
Add It to Cooked Vegetables
Stir chopped cloves into sautéed green beans, roasted broccoli, Brussels sprouts, mashed potatoes, or cooked greens just before serving.
Adding them near the end preserves more of their tangy flavor.
Use the Leftover Brine
The leftover brine can add flavor to salad dressings, marinades, sauces, and pasta salads.
Use clean utensils and keep the brine refrigerated. Do not use old brine indefinitely to pickle repeated batches of fresh garlic because the acidity and strength become less predictable each time.
Common Mistakes to Avoid
A simple recipe can still go sideways when a few key details are overlooked.
Using Old or Soft Garlic
Old cloves are more likely to become mushy or develop an unpleasant flavor.
Begin with firm, fresh garlic. A small green sprout is not automatically a sign of spoilage, but heavily sprouted garlic may taste bitter and have a less appealing texture.
Cooking the Garlic for Too Long
The garlic cloves do not need to boil in the brine.
Pack the raw cloves into the jar and pour the hot brine over them. Prolonged boiling can soften the garlic and take away its satisfying texture.
Boiling the Brine Too Long
The salt and sugar only need enough heat to dissolve.
Allowing the brine to boil for several minutes may cause too much liquid to evaporate, making the final mixture saltier and stronger than intended.
Leaving Garlic Above the Brine
Exposed cloves may pickle unevenly and dry out.
Pack the jar so all the cloves remain under the liquid. A smaller jar is better than a large, half-empty one.
Adding Too Much Salt
Measure carefully and use the type of salt called for in the recipe.
Salt crystal size varies between brands. If you use a very coarse kosher salt, the same volume may not equal the same weight as fine pickling salt.
Using Reactive Containers
Glass jars are the best option because they do not react with vinegar and do not absorb odors.
Avoid storing the garlic in reactive metal containers.
Expecting Immediate Results
The preparation is quick, but the pickling takes time.
The cloves will begin changing after a few days, but they are at their best after two to three weeks in the refrigerator.
Storing the Jar in the Pantry
This is an easy refrigerator pickled garlic recipe, not a tested shelf-stable canning recipe.
Keep the jar refrigerated throughout storage.
Tips for the Best Easy Pickled Garlic Recipe
- Use garlic cloves that are similar in size so they pickle at roughly the same rate.
- Trim only the hard root end. Cutting the cloves into smaller pieces can make them soften faster.
- Make sure the salt and sugar dissolve before pouring the brine into the jar.
- Use clean jars, lids, utensils, and hands while preparing the recipe.
- Keep the cloves covered by brine during storage.
- Use a clean fork or spoon every time you remove garlic from the jar.
- Write the preparation date on the lid so you can easily track how long the garlic has been refrigerated.
- For the best flavor, make the recipe at least two weeks before a party or holiday gathering.
Frequently Asked Questions
Store this refrigerator pickled garlic in a tightly covered jar in the refrigerator and use it within approximately three months.
The cloves should remain covered by brine. Discard the batch if you see mold, notice an unpleasant odor, or find that the garlic has become unusually slimy.
Yes. This quick pickled garlic must remain refrigerated.
It has not been processed as a shelf-stable canned product and should not be stored in a pantry or cupboard.
Yes. Pickling mellows garlic’s sharp raw flavor, making the cloves pleasant to eat on their own.
You can serve them cold directly from the jar or let a few cloves sit at room temperature briefly before serving.
Garlic can sometimes turn blue, blue-green, or turquoise after it is exposed to an acidic ingredient such as vinegar.
This is generally a harmless natural color reaction rather than a sign that the garlic has spoiled. UC food-safety guidance notes that garlic pigments can change color in acidic environments such as vinegar or pickling brine.
The color is more likely to occur with certain types or ages of garlic and when trace minerals are present in the water or cookware.
Use distilled water rather than mineral-heavy tap water.
Choose stainless steel, glass, or enamel cookware and utensils rather than reactive metals.
Use non-iodized salt and keep the jar away from direct sunlight.
Even with these precautions, garlic may still change color.
Yes. Apple cider vinegar gives the garlic a slightly fruitier, less neutral flavor.
Choose a commercially produced vinegar labeled as containing 5% acidity.
Because this recipe is kept refrigerated rather than canned, you can reduce the salt slightly for flavor or dietary preference.
Keep in mind that salt balances the sharp vinegar flavor, so reducing it may make the brine taste more acidic.
Yes, but the sugar helps soften the harshness of the vinegar.
Leaving it out will produce a sharper and more sour flavor. You can also replace it with a small amount of honey or your preferred sweetener.
You can make cold-brined refrigerator pickles, but heating the liquid helps the salt and sugar dissolve and begins flavoring the cloves more quickly.
Pouring briefly cooled hot brine over the garlic also gives you a more consistent result.
No. This particular recipe is vinegar-pickled rather than fermented.
Fermented garlic relies on a saltwater brine and beneficial microorganisms to produce acidity over time. This recipe receives its tangy flavor directly from vinegar.
No. The recipe as written is intended only for refrigerator storage.
Shelf-stable canning recipes require specific, scientifically tested ingredient ratios and processing instructions. Do not place these jars in the pantry, even if the lids appear to seal.
Mushy garlic is usually caused by using old cloves, boiling the garlic, exposing it to too much heat, or storing it for too long.
Start with very firm cloves and remove the brine from the heat as soon as it boils.
Cloudiness can be caused by table salt, minerals in tap water, or particles from herbs and spices.
Use pickling salt or non-iodized salt and distilled water for the clearest brine.
Cloudiness alone does not always mean spoilage, but discard the jar if it also has mold, an unusual odor, fizzing that was not expected, or slimy garlic.
Storage Instructions
Let the jar cool before placing it in the refrigerator.
Keep it tightly covered and store it toward the back of the refrigerator, where temperatures tend to remain more consistent than they do in the door.
Make sure the garlic stays submerged in the brine. Always remove the cloves with a clean utensil rather than your fingers.
Use the pickled garlic within three months for the best flavor and texture.
Looking for More Quick Pickled Vegetables?
- Quick Pickled Cucumber
- Quick and Easy Pickled Cauliflower
- Easy Refrigerator Zucchini Pickles
- Pickled Green Beans {Dilly Beans}
- Quick Pickled Carrots
- Quick Pickled Jalapenos
- Pickled Red Onions
- Quick Pickled Radishes
- More Pickled Vegetables…
Like this recipe?
Make sure to follow us on Instagram and Pinterest for more recipes like this.
Easy Pickled Garlic Recipe – Crisp, Tangy Garlic Cloves
Ingredients
- 8 heads Garlic
- 1.5 cup White vinegar
- 1/2 cup Water
- 2 teaspoons Kosher salt
- 1 tablespoon Sugar, can use sugar substitute
- 1 teaspoon Peppercorns
- 1/2 teaspoon Crushed red pepper flakes
Instructions
- Peel the garlic cloves and trim off the hard end. Pack the cloves into the jar. See post for tips on peeling garlic.
- In a small pot combine vinegar, water, salt, sugar, peppercorns, and red pepper flakes. Stir together.
- Bring the mixture to a boil and then remove the pot from the heat.
- Let the mixture cool for 2-3 minutes and then pour it into the jar until the garlic is fully covered.
- Screw the lid on and store in the refrigerator for 2-3 months. Garlic can be used as soon as you like but we recommend letting it pickle for 2-3 weeks for the best flavor.
Nutrition

wasteful printing process. 21 pages to get a one page recipe. will not be back.
Paul I just tried printing it on my end and it is only 1 page. Below the title of the post there is a button that says PRINT RECIPE. Maybe you printed the whole post?
Can less salt be used? Have to limit my sodium intake.
Yes, in “quick pickle” recipes you can lower the salt amount safely.